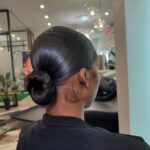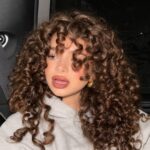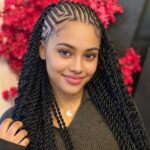
Curls do well with a claw clip updo or a voluminous curly updo, straight hair suits a sleek high ponytail, and natural hair takes beautifully to a two-strand twist.
Effort runs from a deep side part, which needs no tools at all, to cornrows into a top bun, where a steady hand makes the difference.
1. Braided Bun
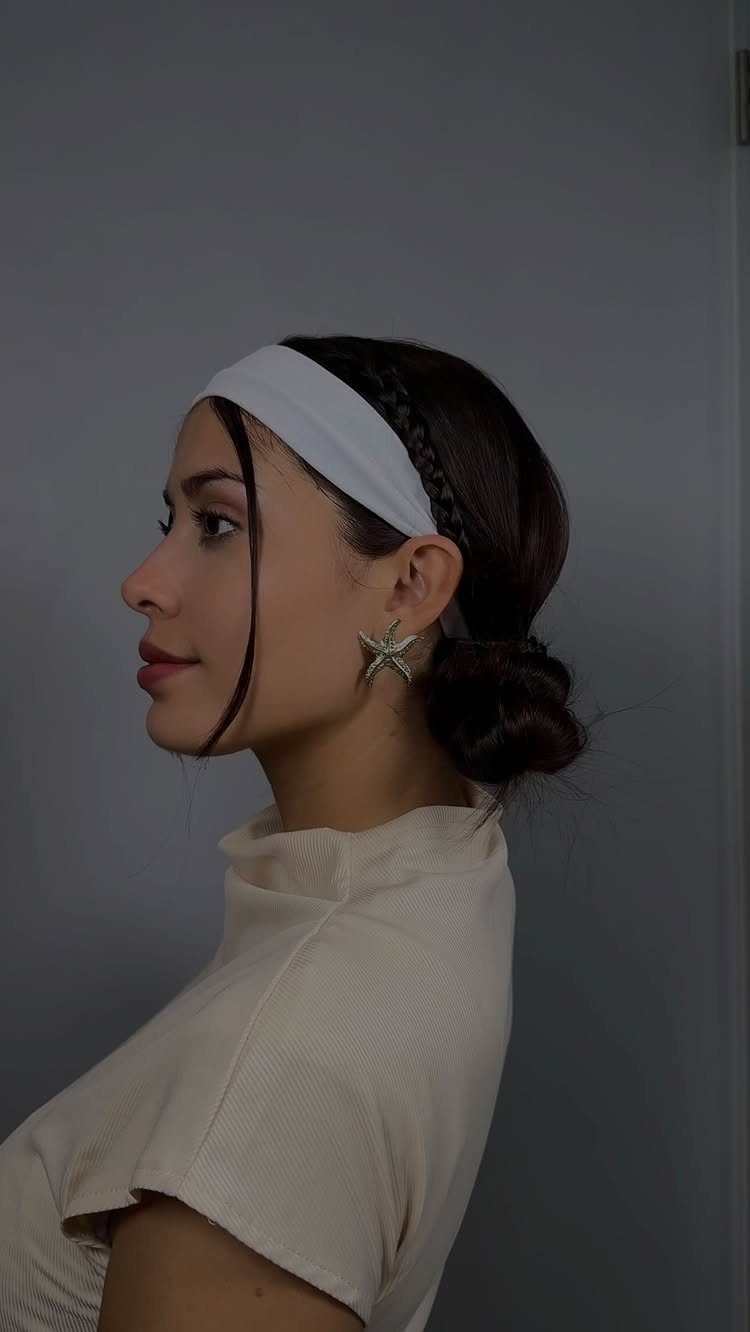
A low braided bun is the one to learn if a plain bun feels too basic. Braid the hair into a single plait, then coil it around its own base and tuck the end under.
A secure elastic at the nape keeps the coil from sliding, and pins slipped in along the curve hold it flat.
A headband in white or another light color covers bumps at the crown, which helps while your braiding is still uneven.
I would choose this over a twisted bun for beginners, since braiding is the only skill it asks for.
2. Half Up Half Down Hair
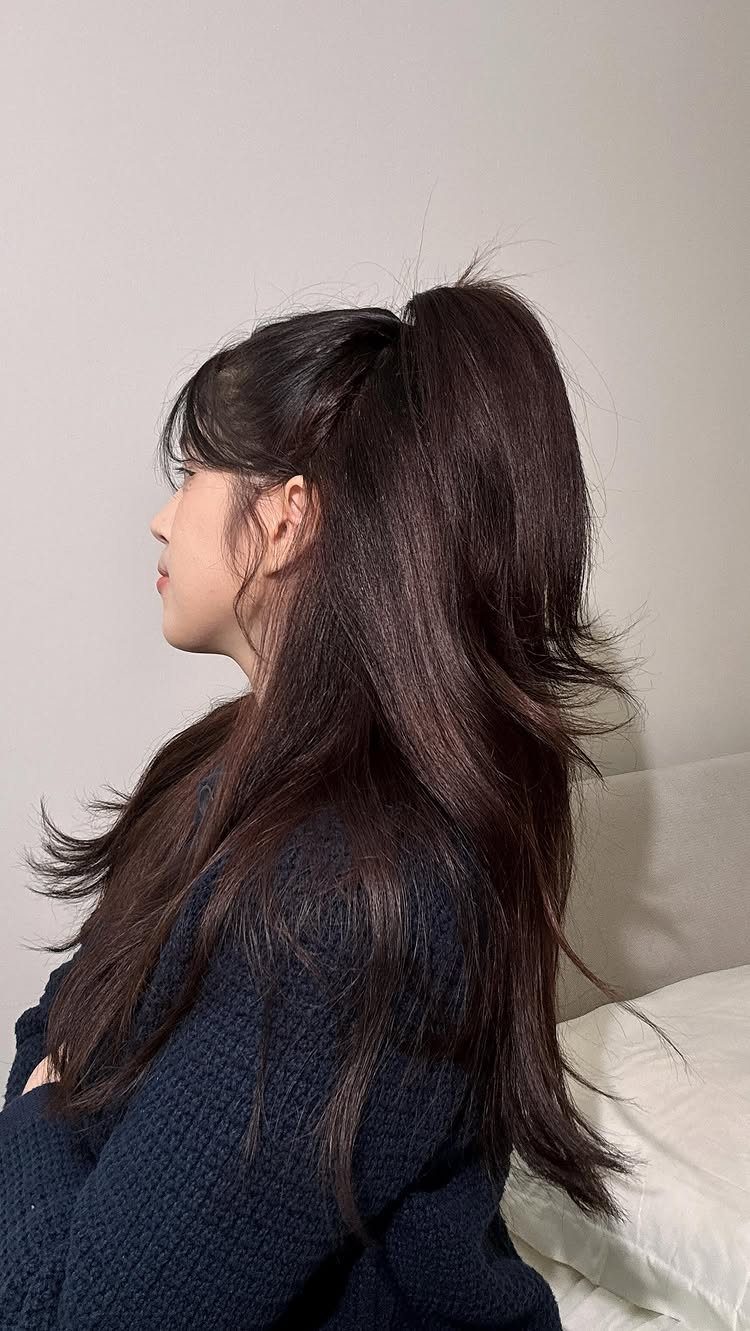
Gathering only the top section of long hair into a ponytail leaves the length loose around the shoulders, and that is the whole style. Beginners get a tidy result with almost no technique.
Pull the section from temple to temple, brush it smooth, and secure it at the back of the head with an elastic. For more lift, tug the crown gently after tying.
Brown hair like this looks best brushed out well first. It is a good choice when you want hair off your face but still want length showing.
3. Messy Bun
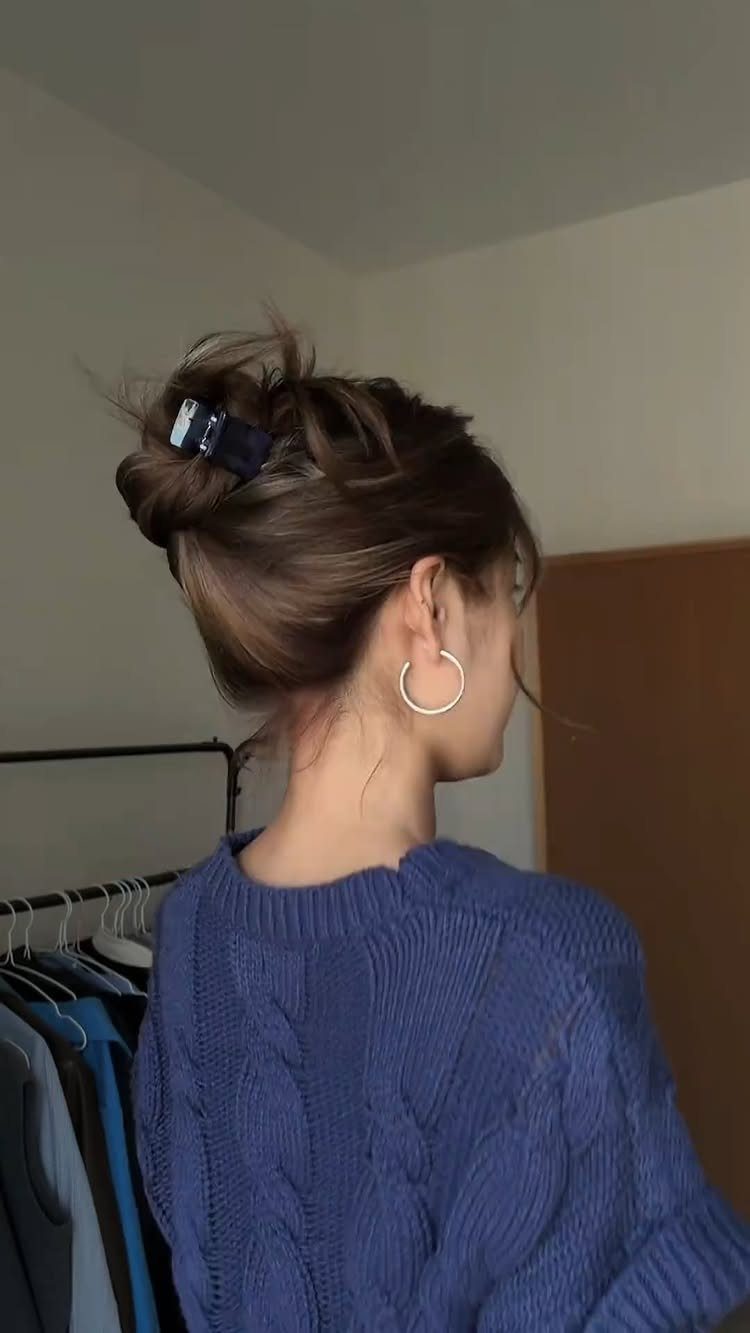
Nobody needs a neat result here, which is why a messy bun works for beginners. Twist the hair into a loose knot high or mid-head, then snap a claw clip across it to hold the shape.
Pull a few pieces free around the face afterward so it looks relaxed rather than half-finished.
A clip is faster than an elastic and pins. I would pick one that matches your sweater, since it works as an accessory.
4. Two-Strand Twist
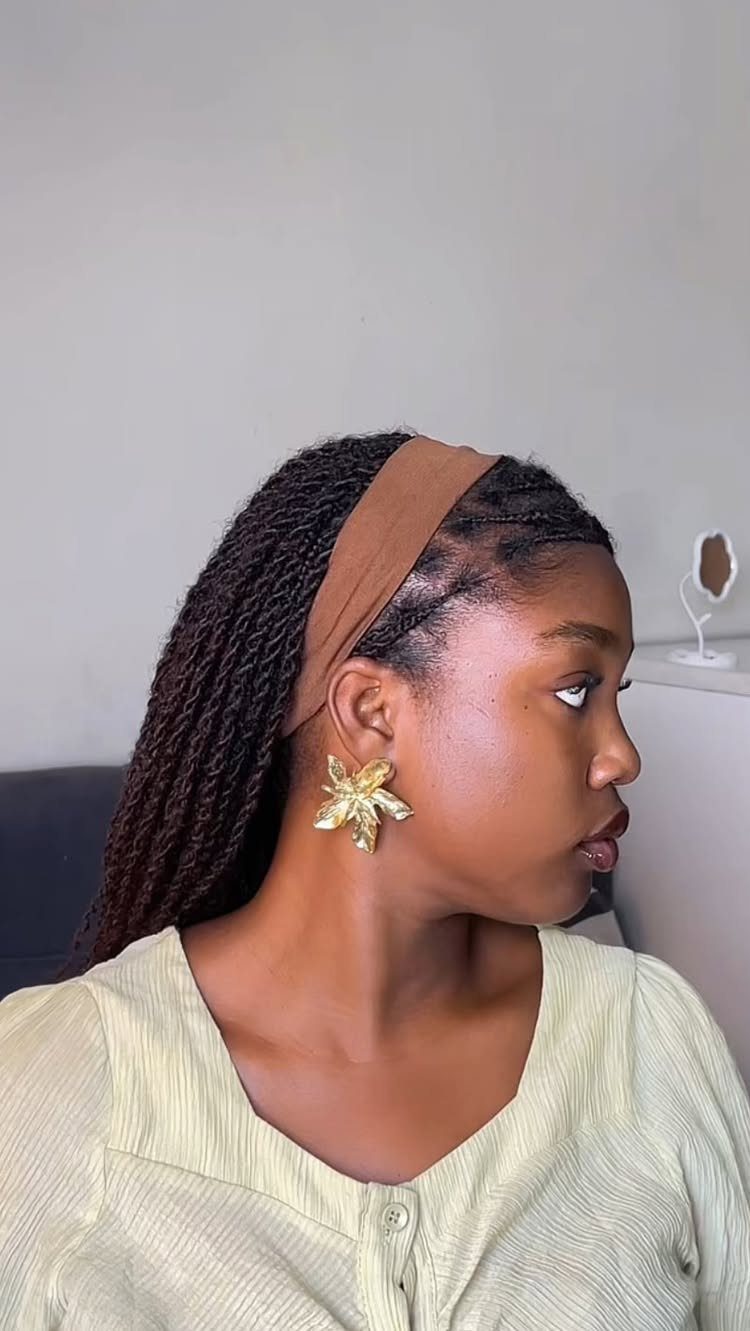
Two-strand twists start with a section of hair split in two, then wound around each other down the length. The motion is simple, and it suits natural hair well.
Work on small, evenly sized sections, and keep the hair slightly damp so it holds the twist. Smaller sections make a tighter, longer-lasting look, though they take more time.
Finish each end by wrapping it around your finger. A headband keeps the front neat while you get used to the technique, and a brown or other neutral one blends in with most hair colors.
5. Scarf Braid
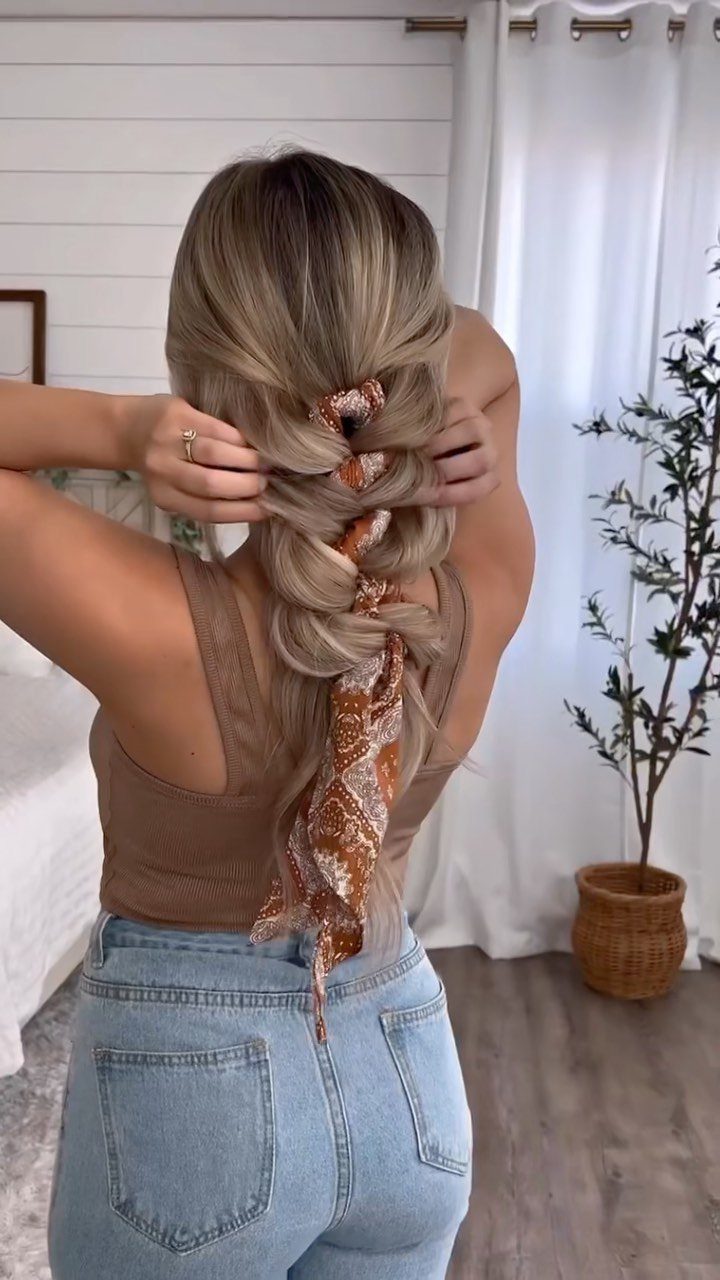
A scarf braid is an ordinary braid with a fabric strip worked in, so it adds color without any extra technique.
Fold a long, narrow scarf in half, loop it around the hair tie, and treat it as one more strand.
Braiding it in a loose style, like this one, hides small mistakes and shows off the pattern.
Choose a lightweight scarf, since thick fabric bunches. Knot the ends together or tie a small bow at the bottom to finish.
6. Wash-and-Go Curls
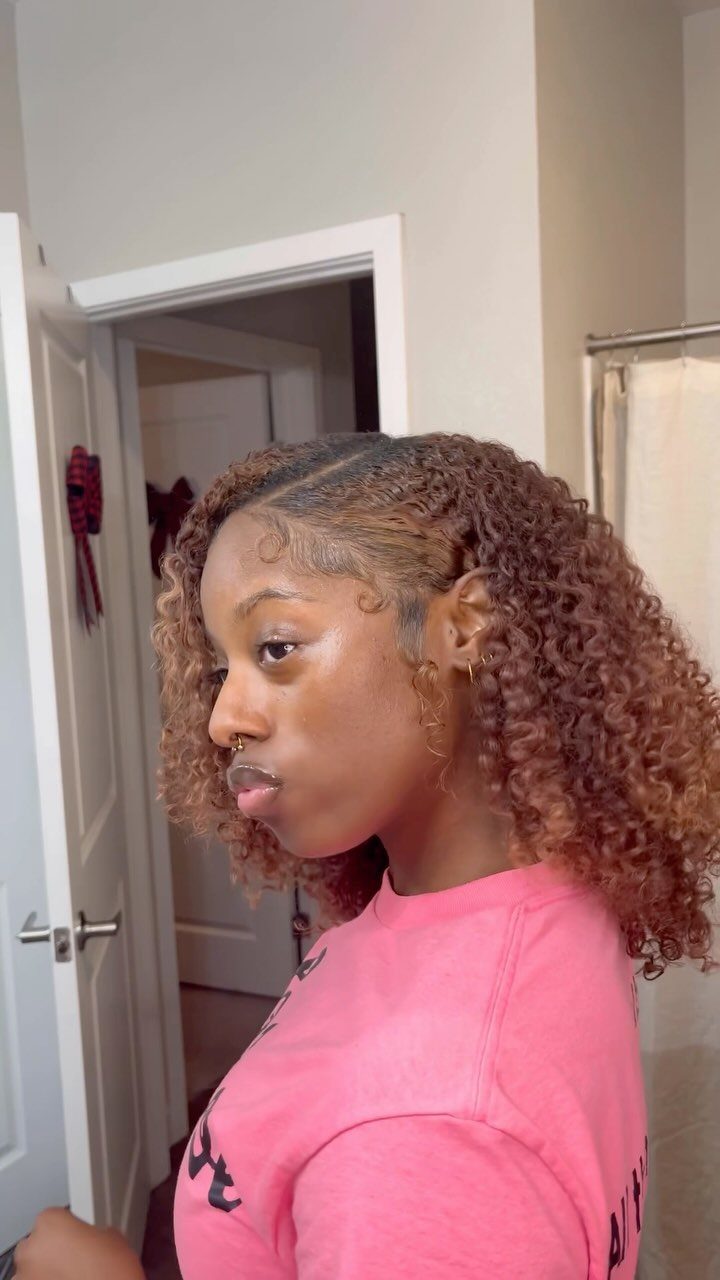
Wash-and-go curls depend on leaving the hair alone. After washing, skip the brush and the blow dryer, and let the curls form as they dry.
Because the style is about restraint, the main skill is knowing when to stop touching your hair. Fingers disturb the curl pattern, so scrunch gently and then leave it.
Wash-and-go curls take the least effort of any style here, though how they turn out depends on your natural texture. Expect drying time, which can run long for thick hair.
A wash-and-go is the quintessential easy natural hairstyle. While the name of the style emphasizes its ease, there are a few more steps than just washing and walking out of the door with flawless hair.
— Hair.com
7. Deep Side Part
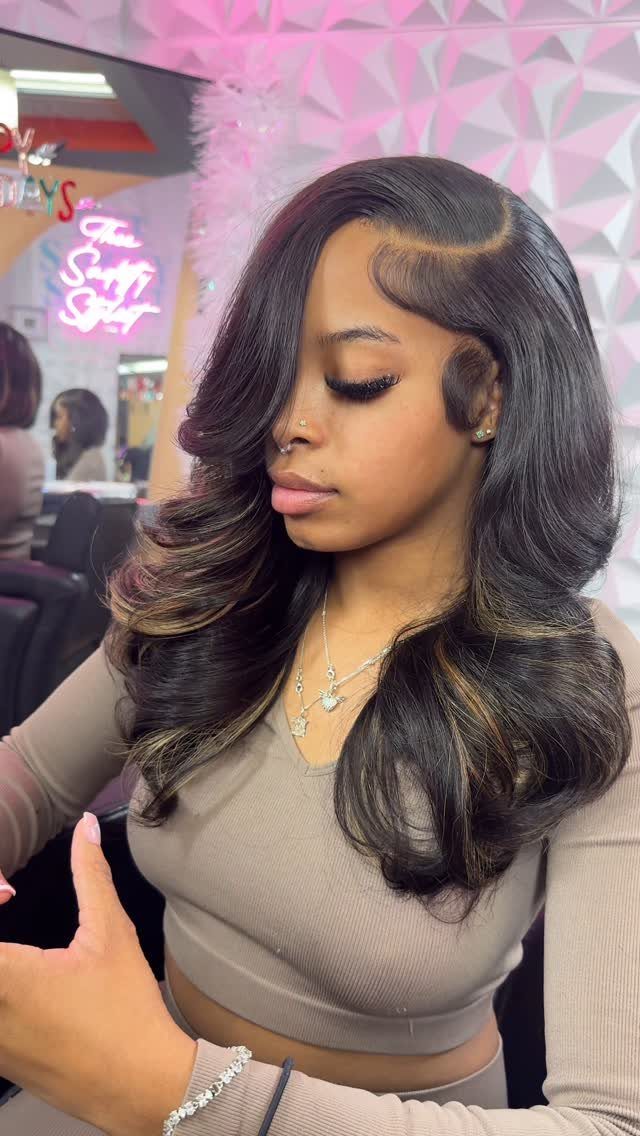
A deep side part moves the part line well past the arch of the brow, so one side sweeps across the forehead and the other falls back with extra lift. Wavy hair like this holds the shape easily.
For a deep side part, start the comb at the outer end of the brow, past the arch, and draw it straight back to the crown for a clean line. Flip the heavy side over and brush it smooth.
No tools are required, which makes it the fastest change in this list. I would pick it on days when there is time for nothing else.
8. Classic Twin Braids
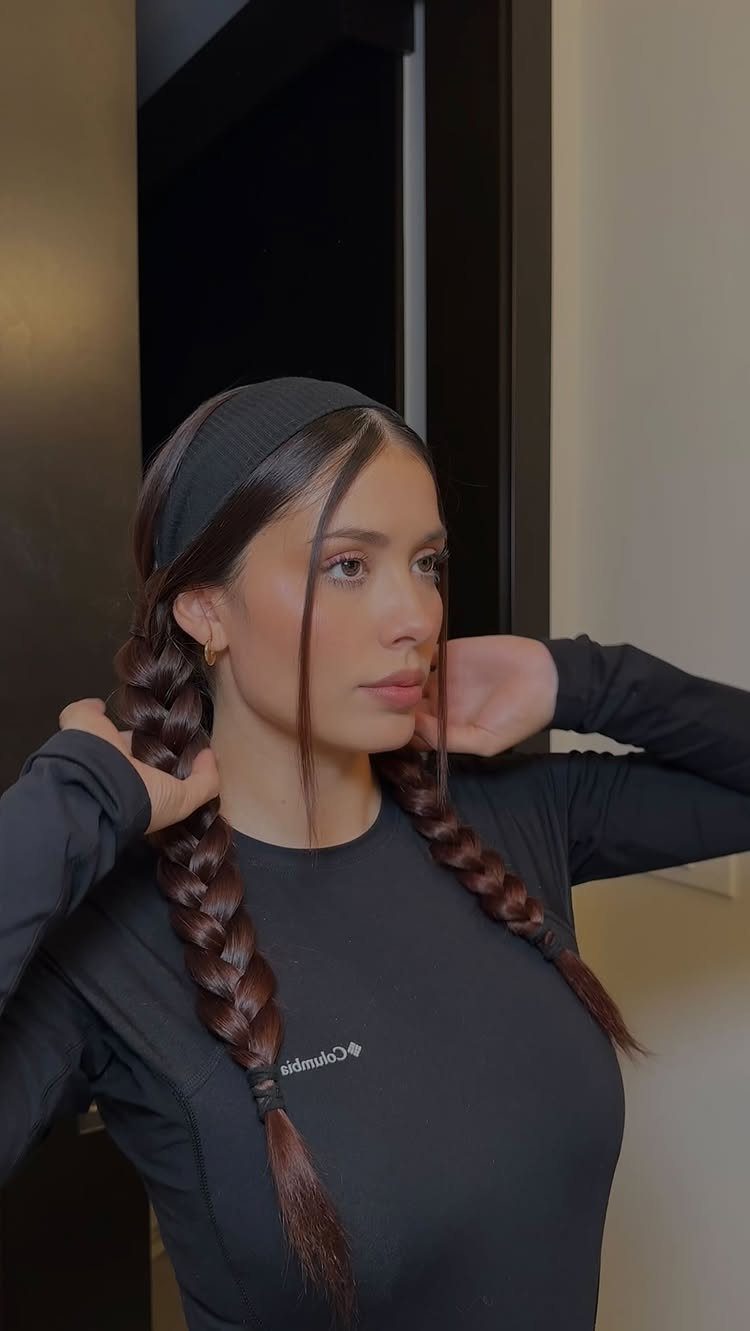
Twin braids ask for one skill done twice: split the hair down the center, then braid each side from behind the ear to the ends.
Matching them is the hard part.
Part with a comb, pull each side to the same height, and tie both ends with elastics before checking the mirror. Braiding at the same tightness keeps them even.
A black headband, like this one, keeps flyaways at the front controlled while your hands learn the rhythm. I would braid slightly loose at first, since tight braids are harder to keep even.
9. Loose Side Braid
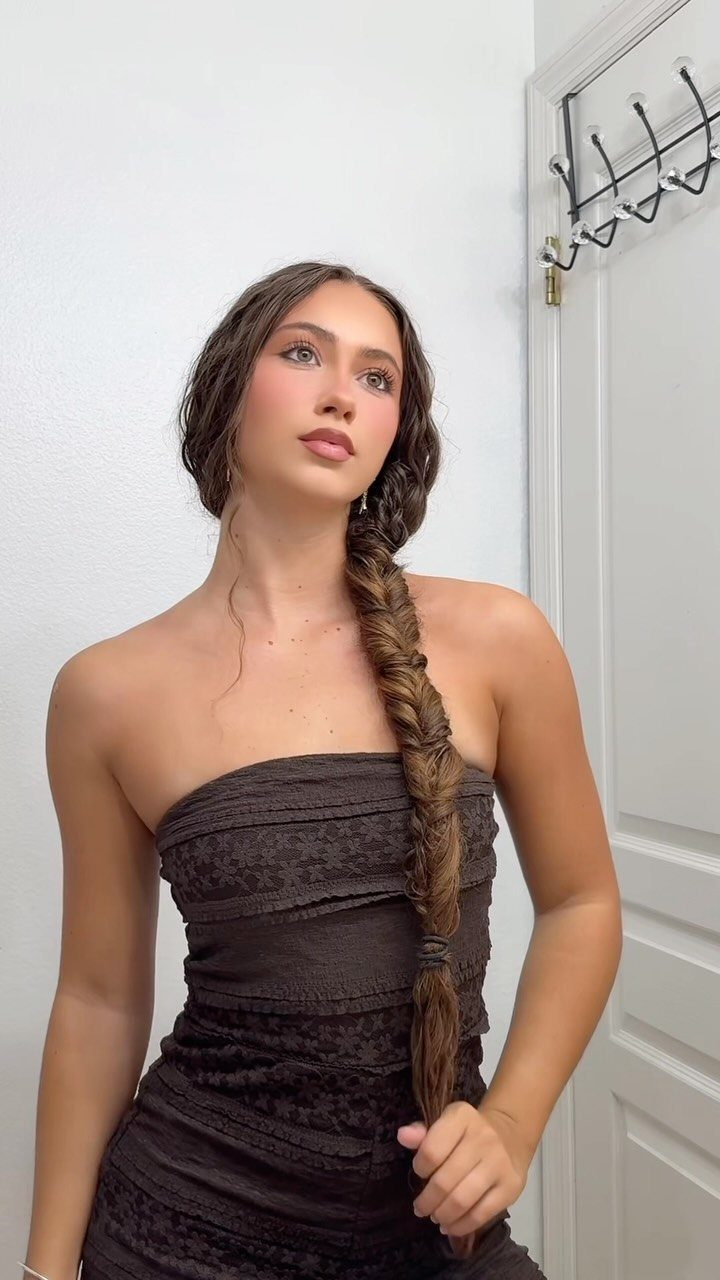
Sweep everything over one shoulder, just below the ear, split it into 3 equal sections, and braid down the length without pulling tight. Drape it over your shoulder and tie the end.
Loose is the point. Tugging gently at the edges of each loop after braiding widens the plait and hides uneven tension, which suits a first attempt well.
With a strapless dress, the braid fills the bare shoulder line nicely. I like it best on long hair, where the braid has room to hang.
10. Voluminous Curly Updo
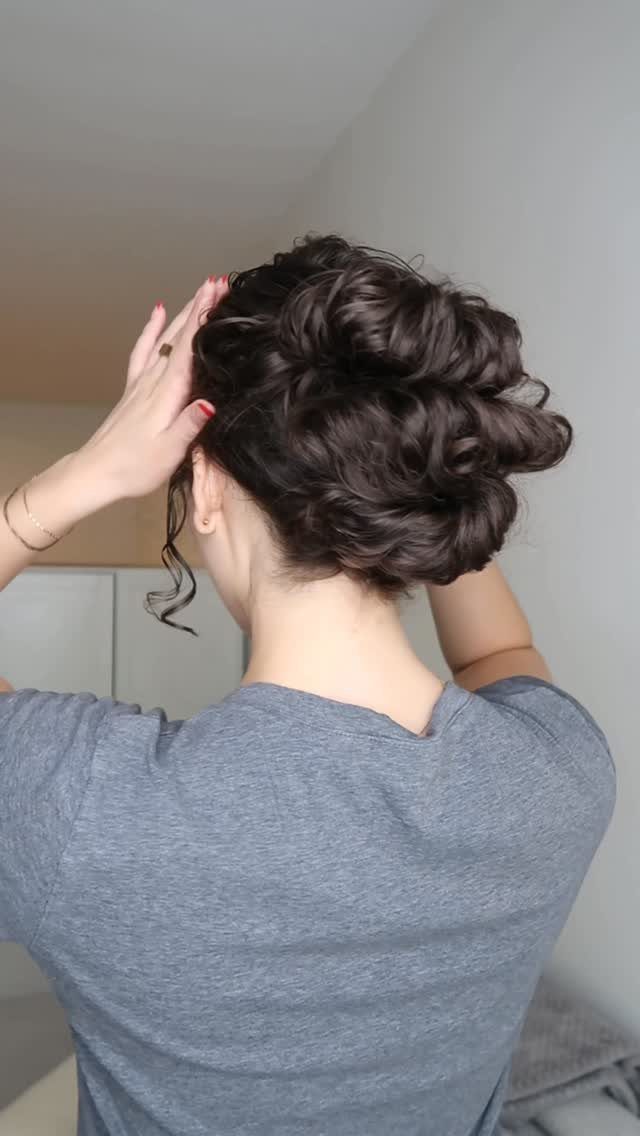
Curly hair already has the volume this updo needs, so the work is gathering it, not building it. Scoop every curl up toward the crown and hold the whole bundle with a single sturdy elastic.
Leave the curls unbrushed and let the ends spill out.
Because the hair stays uneven by design, mistakes disappear into the texture. I would choose it over a sleek bun for curls, since smoothing them takes far more effort.
11. Braided Hairline Accents
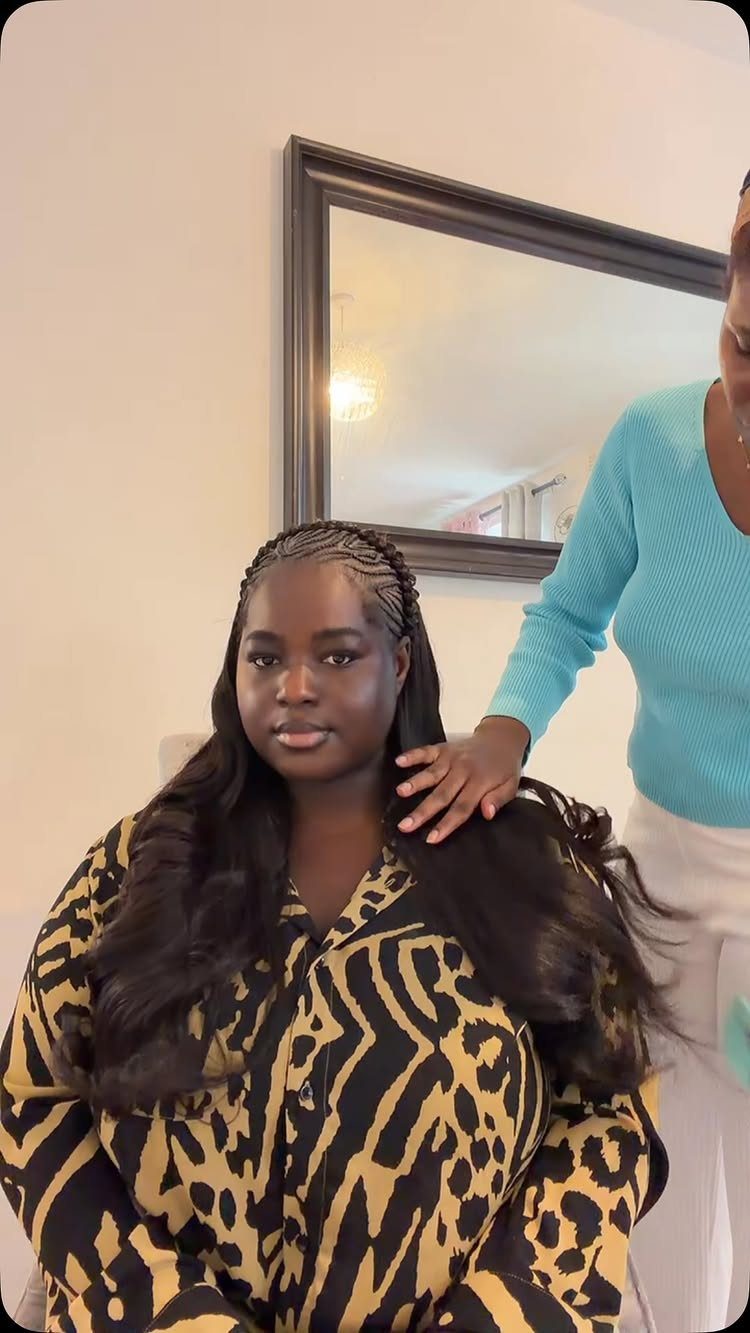
Small braids along the hairline work as an accent, so the rest of the hair can stay loose and unstyled. Take a thin section at the front, braid it down to the ends, and tie it with a tiny elastic.
Make a braid on each side so the face is framed evenly. Keep them thin, since thick sections look heavy against loose hair.
Each one is a plain 3-strand braid, which makes this a good style for practicing small, even sections.
12. Claw Clip Updo
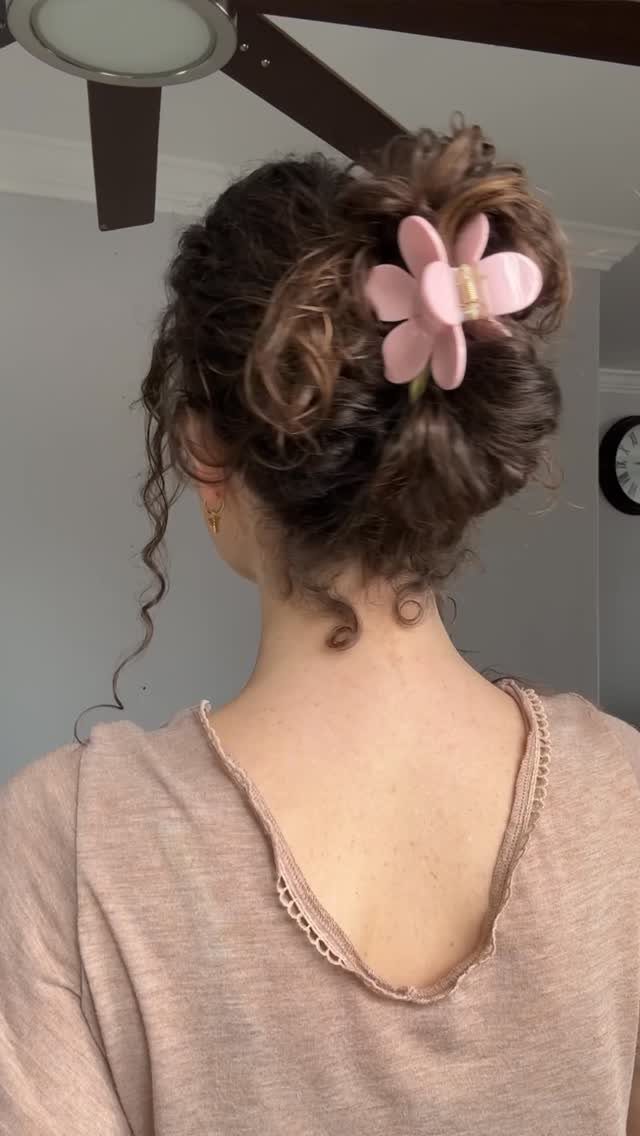
Curly hair holds a claw clip well because the curls grip the teeth. Twist the hair loosely upward, set the clip across the twist, and press it closed.
Skip the brush. Tease a few curls loose at the crown and sides with your fingertips, and the clip hold stops looking so tight.
A flower clip, like this pink one, doubles as an accessory, so I would choose a color that matches your top. Clips take seconds, which makes this a good option for rushed mornings.
13. Sleek High Ponytail
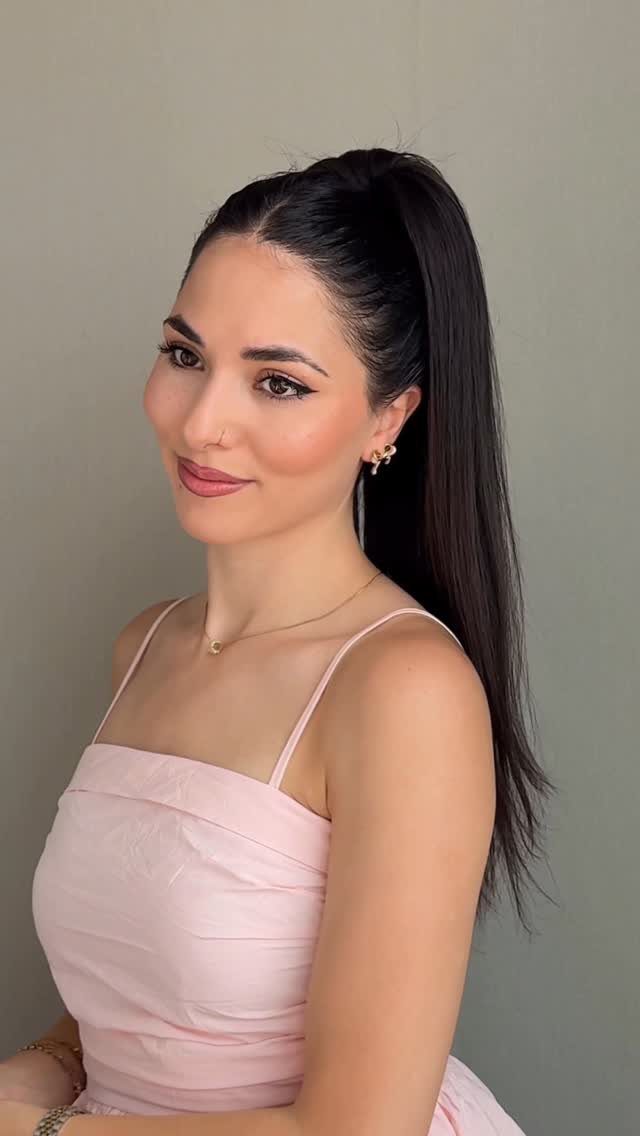
A sleek high ponytail is one clean gather at the crown, and straight hair is what makes it look polished.
Brush the hair smooth in sections, pull it up to the highest point of the head, and tie it with an elastic.
Brush once more after tying so no ridges show along the sides. Straight, long hair like this swings freely, so a thin elastic in a matching shade keeps the line neat.
I would choose it for days when you want a finished look fast, with nothing more than a brush and one elastic.
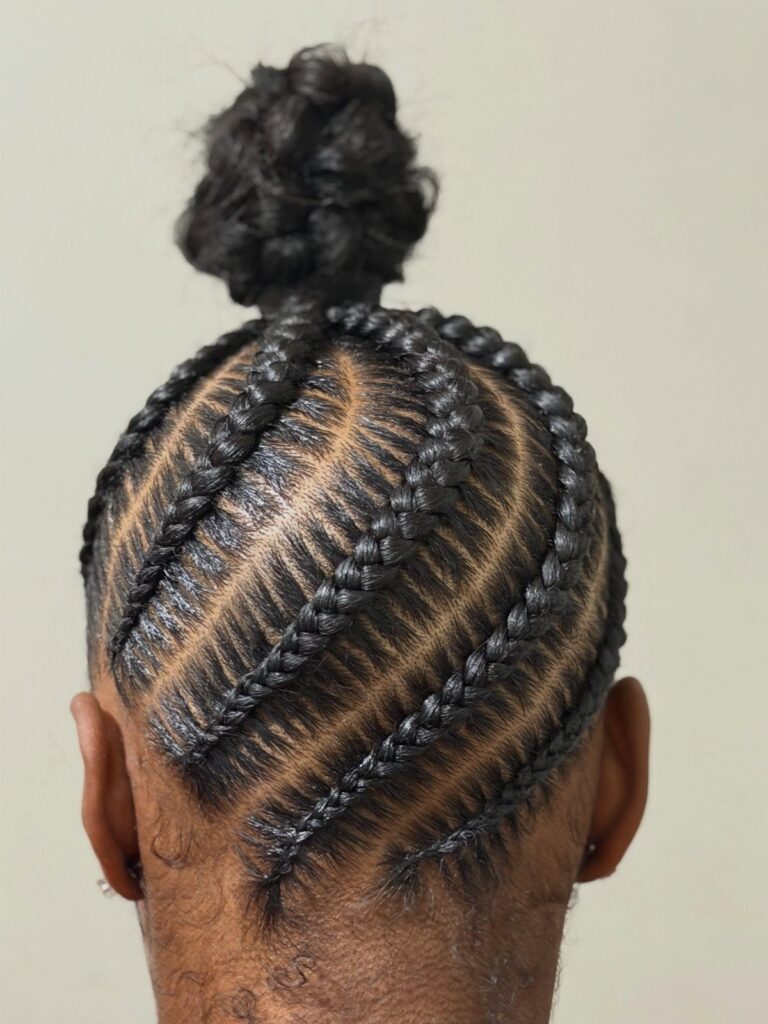
14. Cornrows Into Top Bun
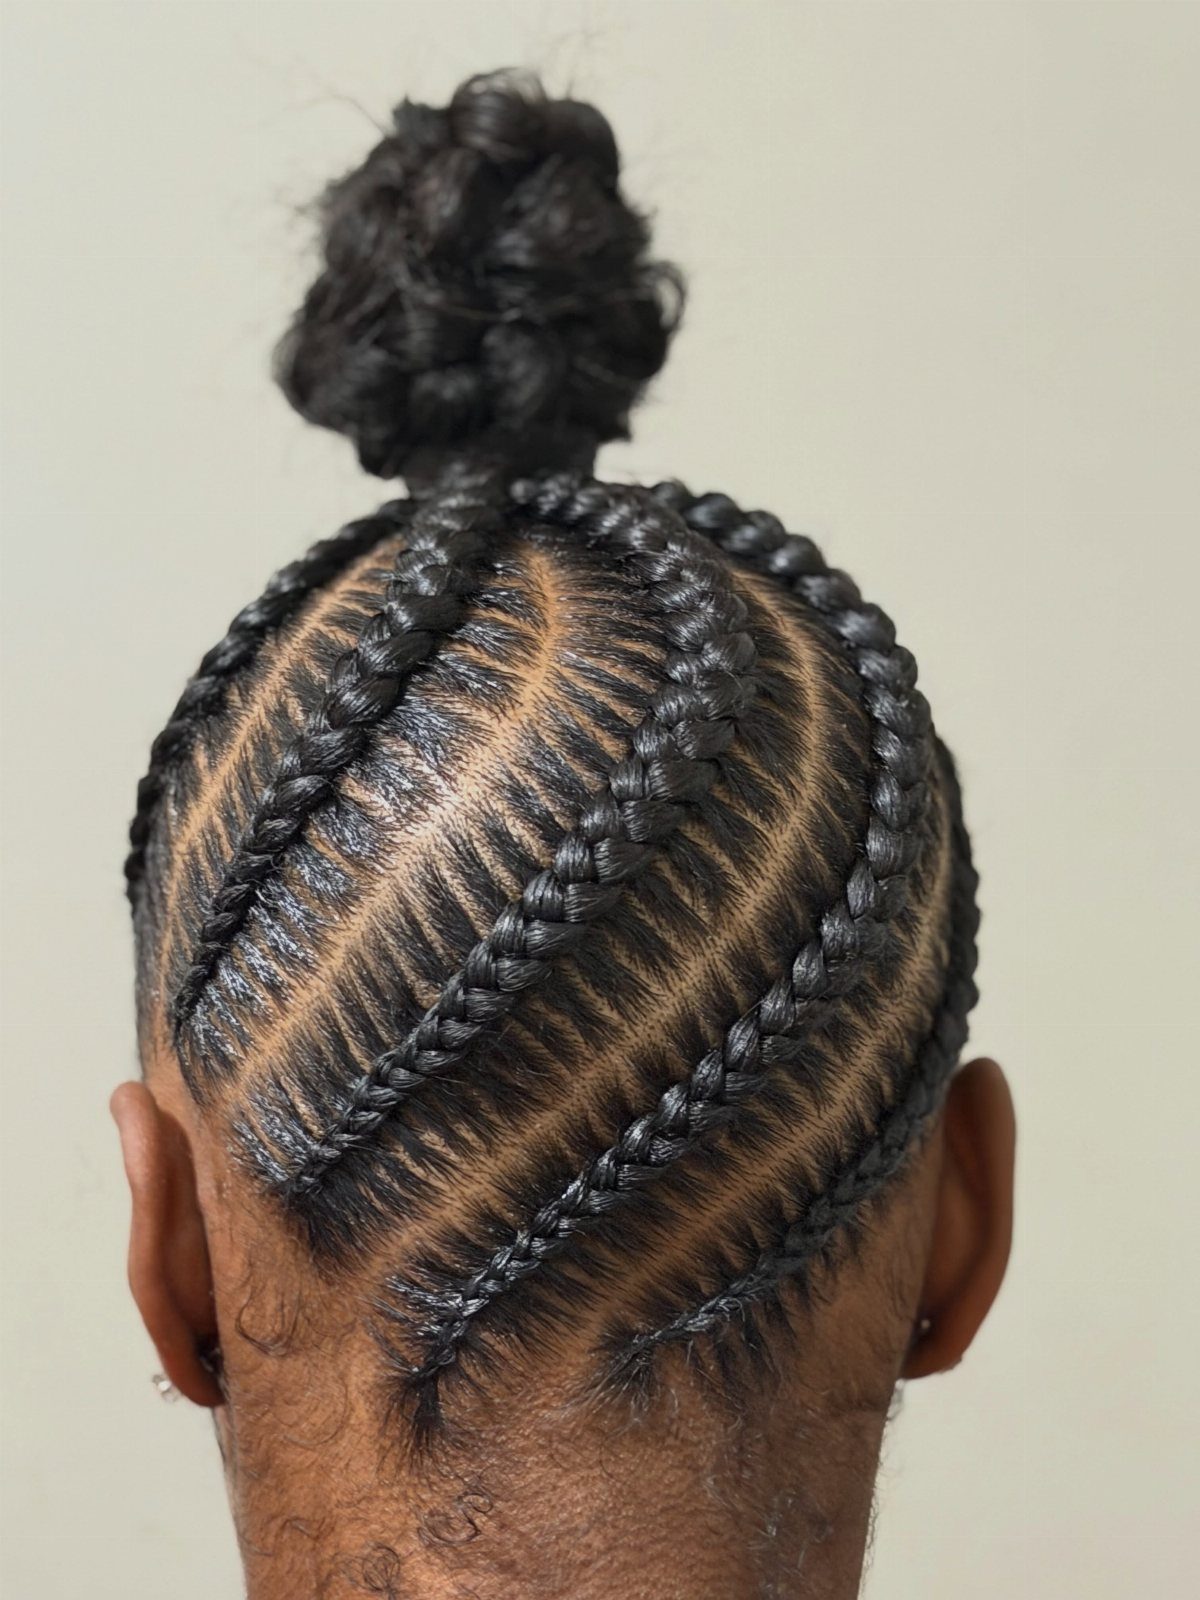
Cornrows that run up the scalp and end in a compact bun are the neatest high-bun style, but they ask for a steady hand on the braiding.
Part each row straight from the nape toward the crown, then braid close to the scalp, adding hair as you go.
Gather the ends together at the top and wrap them into a small bun, secured with an elastic.
Beginners should start with fewer, wider rows, since they are easier to keep straight. I would also practice on a friend’s hair or a mannequin head before trying your own back view.
15. Twist Ponytail Updo
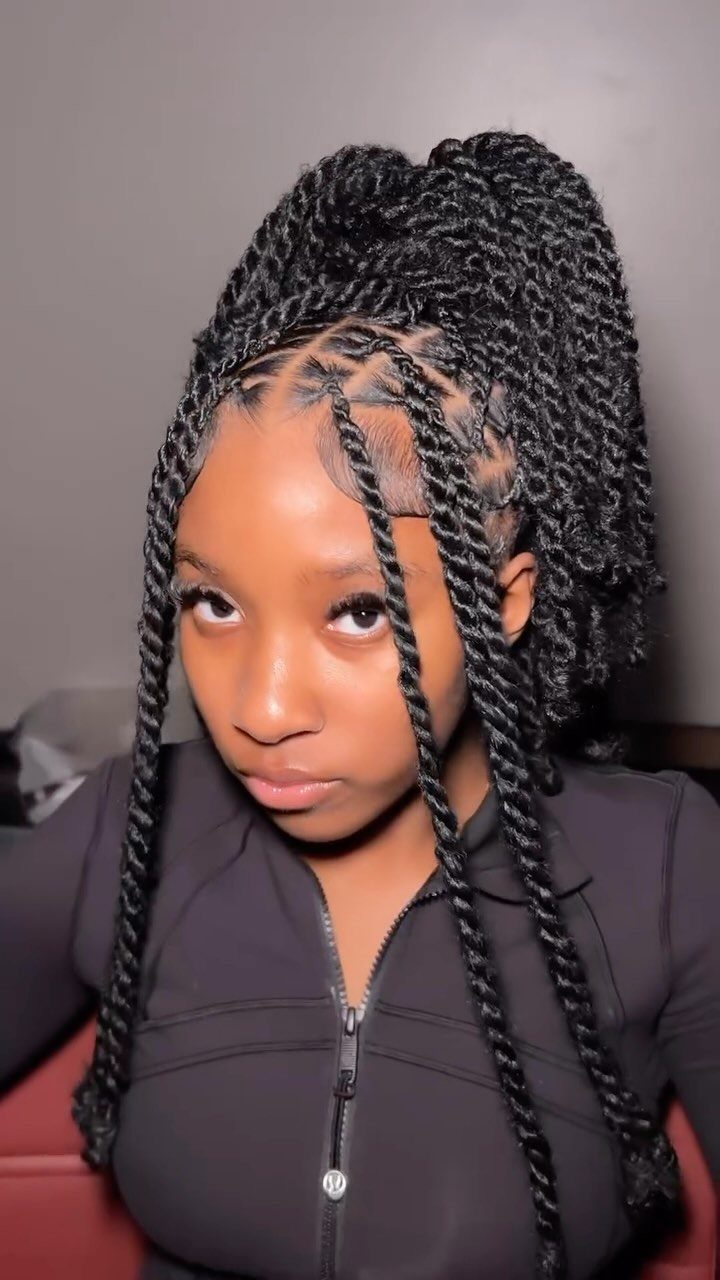
Long two-strand twists make a ponytail with built-in texture, so the styling is mostly gathering.
Pull the twists up to the crown, hold them with one strong elastic, and leave a few twists loose at the front to frame the face.
The loose pieces do the decorating, so pick them out before you tie anything. Wrapping a twist around the elastic hides it and gives a tidier base.
I like this for beginners because the twists are already done; the updo takes a minute.
16. Single Braid with Headband
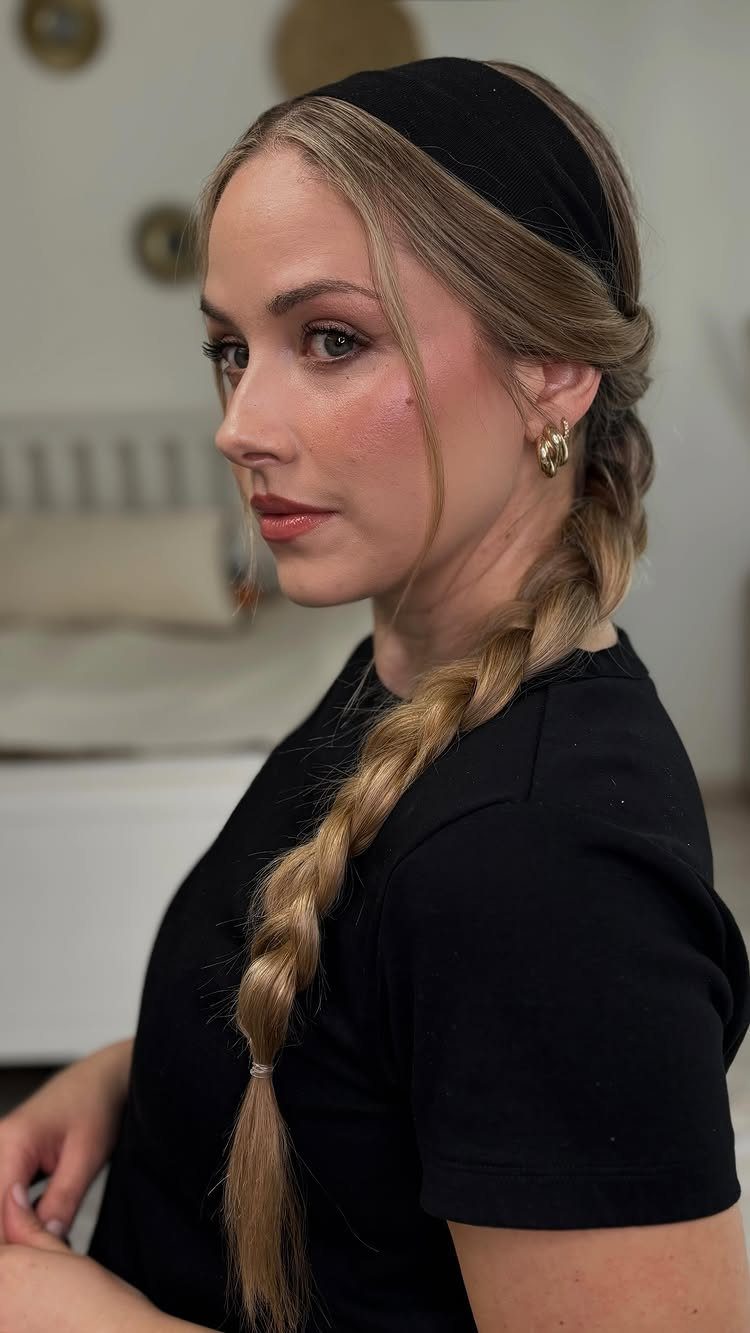
A single side braid with a wide headband looks casual and takes almost no skill. Drape all the hair over one shoulder, braid it in 3 sections down the length, and tie the end.
Slide the headband on before you braid, and set it back from the hairline so it holds the front flat. A black band like this one hides flyaways well on lighter hair.
I would braid loosely, since a looser plait looks relaxed and forgives uneven tension.
Tips for Styling Hair
Pins and elastics grip best on hair that is bone dry and brushed free of knots, so detangle first and style second. The one exception is a headband tuck, which works on damp hair when you’re short on time.
A few drops of serum, a light mist of water or a smear of non-greasy oil pressed over the top layer calms flyaways without weighing the hair down.
Gel and spray hold a shape, but a light hand keeps hair from going stiff.
For a wet look, mist hair with a spray bottle until it is saturated but not dripping.
A light-hold gel worked through from roots to ends sets your natural texture, and it needs to dry fully before you head out. It stays shiny all day.
Skip straighteners and curling irons when you can. Heat tools call for a protective spray first, every time.
Hair Care Advice
Shampoo only your roots, since the scalp is where oil, sweat and dirt collect. Condition just the bottom half of your hair, because conditioner at the roots can weigh hair down and make it look oily.
Pat hair dry with a soft towel. Rubbing roughly causes frizz and damage.
For waves or curls without heat, braid your hair after a shower and sleep in it. Slow-drying hair can be braided while it is still a little damp, so it finishes drying in shape.
When you do use a curling iron or straightener, make sure hair is not soaking wet, because wet hair can burn and break. Wait until it is dry and apply a heat protectant every time.
Time-saving Techniques
Many easy styles take just a few minutes, and a ponytail or a sock bun is a good place to build speed.
A reverse crown braid is a step up, and a step-by-step tutorial with photos can get you through it in under 15 minutes.
Set out your elastics, pins and brush before you start, so your hands never stop mid-style. On a rushed morning, pick the style you have already practiced.
Frequently Asked Questions
What are cute simple hairstyles?
A messy bun, a loose side braid and a half up half down style are my first picks.
The messy bun is a loose knot held with a claw clip, and a few pieces left hanging near the temples and cheeks keep it soft.
The side braid is a 3-section braid worn over one shoulder, and it looks best when you leave it loose. Half up half down only needs the top section tied back from temple to temple.
How to wear hair up for beginners?
Start with a sleek high ponytail, a messy bun or a low braided bun. A ponytail needs only a brush and one elastic, and a claw clip makes a messy bun even faster than pins.
What hairstyle makes a woman look younger?
I can’t promise any single style takes years off, but loose, relaxed looks tend to feel fresh.
A loose side braid with the edges gently tugged out, or a messy bun with pieces left around the face, reads soft rather than severe.
Pick whichever suits your hair type, since a style that fits your texture always looks better.