How long a style has to last decides which of these cutest hairstyles for picture day is right, because a braid or bun stays put through recess while loose waves and clips need a touch-up.
Styles here range from a bow or headband clipped on in minutes to cornrows with colorful beads that need an appointment well before the photo.
Many of these are ponytails, pigtails and buns, and before the big day I’d test the style at home with a few minutes of jumping and running.
1. Half Up, Half Down
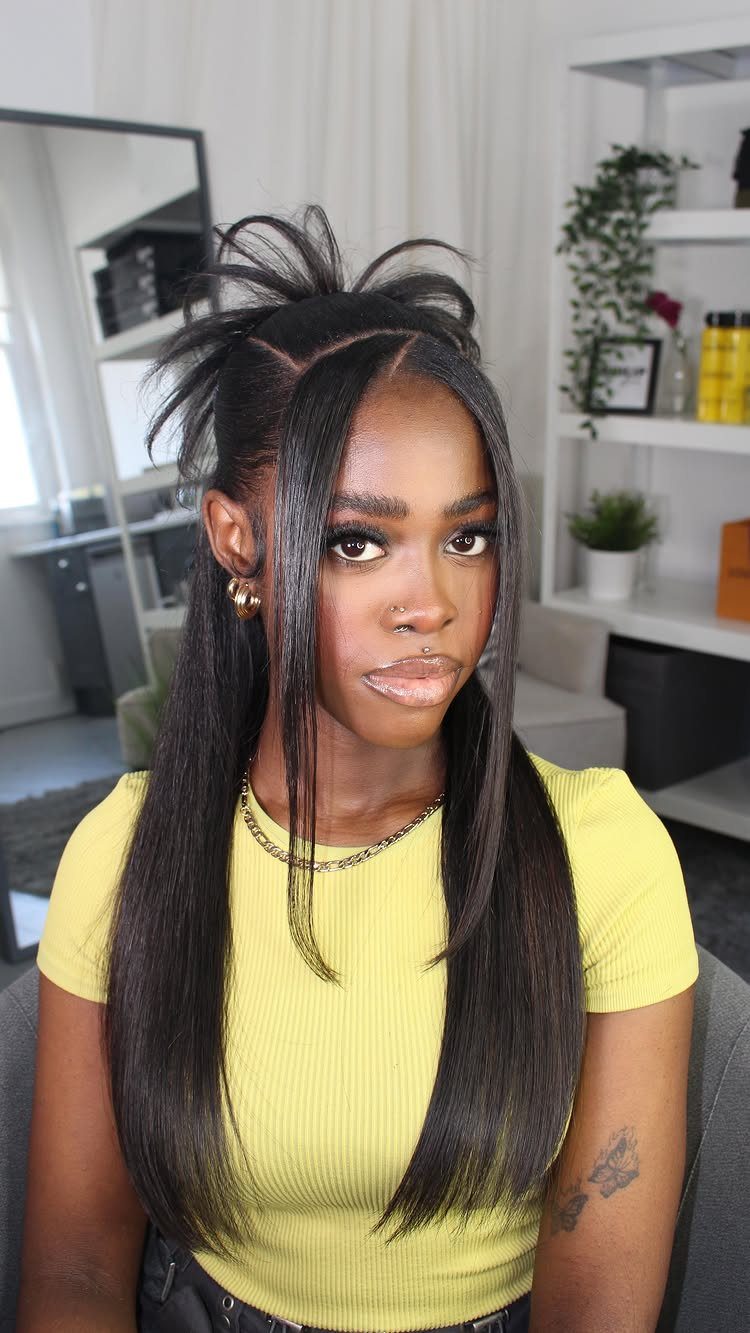
Keeping the length loose while clearing the face is the whole appeal of a half-up style, and on long straight hair it reads clean and polished.
A high ponytail pulled from the crown section gives half-up styles the most lift, and the higher you tie it, the fuller the top looks.
Straight hair slips out of elastics, so a snug, hair-matching band is my pick.
2. Braided Headband
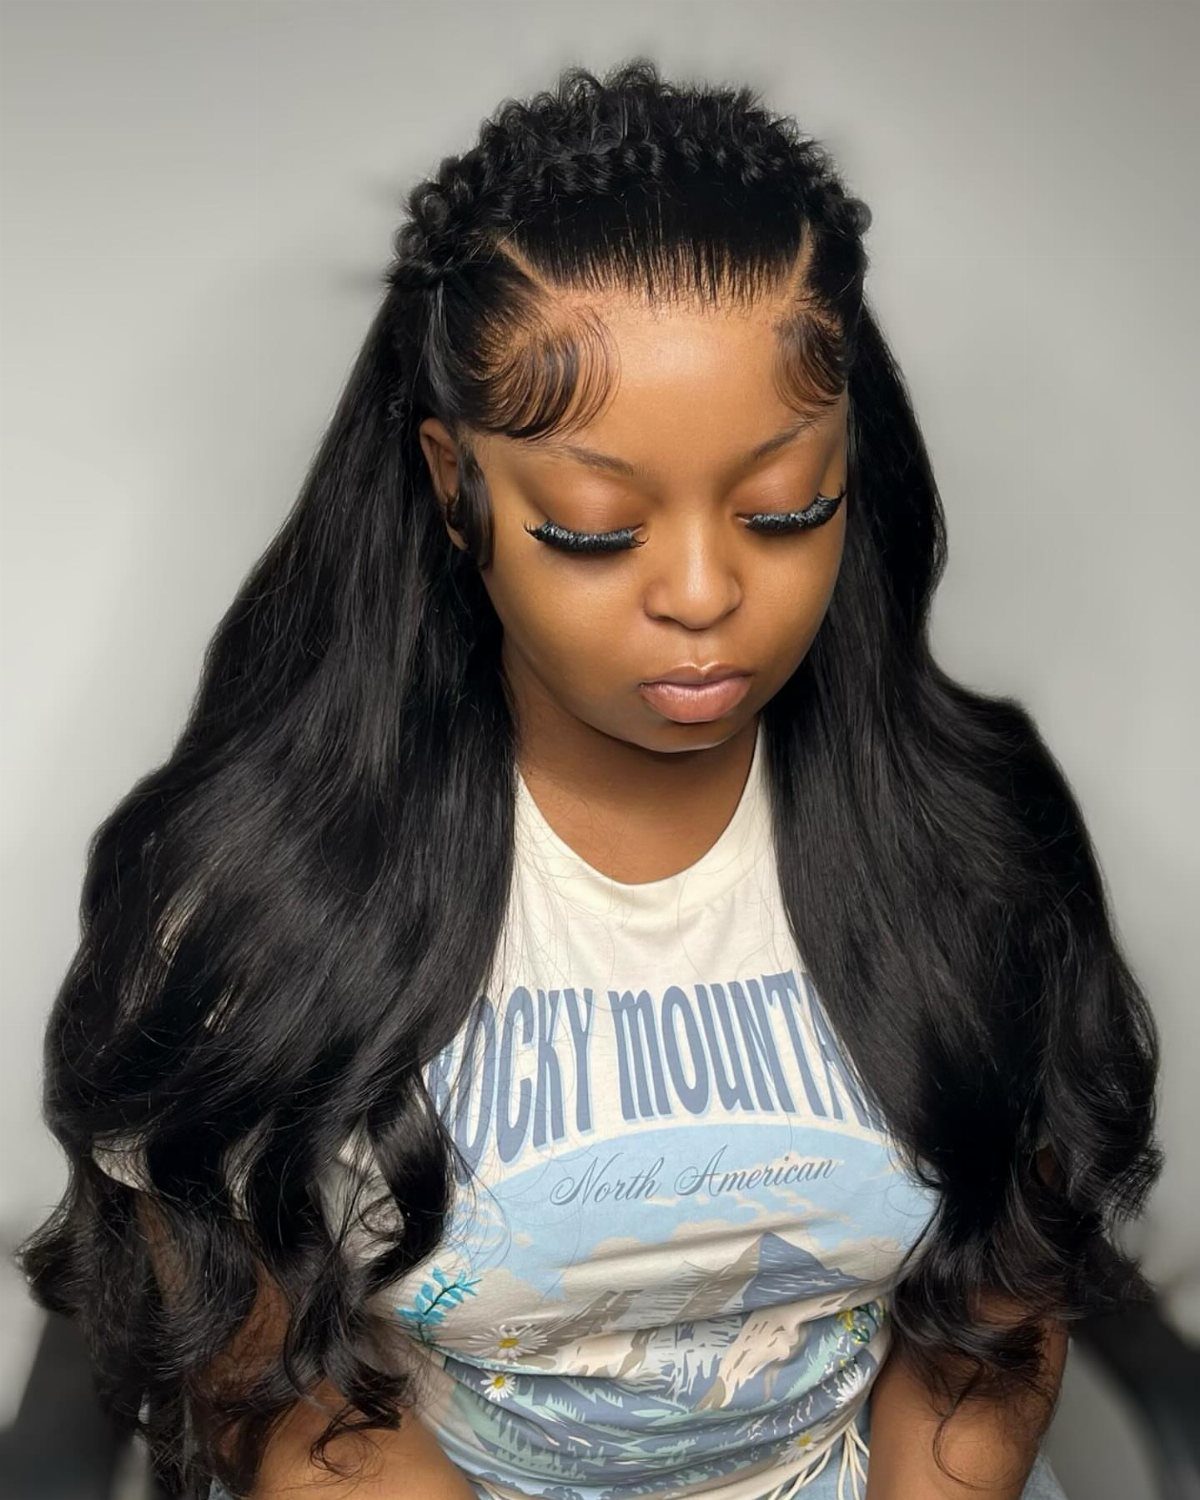
A braid worn across the head like a headband does 2 jobs at once: it holds hair back and adds a detail you can see from the front. On long, wavy hair it looks especially soft.
I would braid a thin section from behind one ear, then pin the end under the hair on the opposite side. Bobby pins matched to the hair color vanish and keep the braid from sliding.
3. Twist Braid
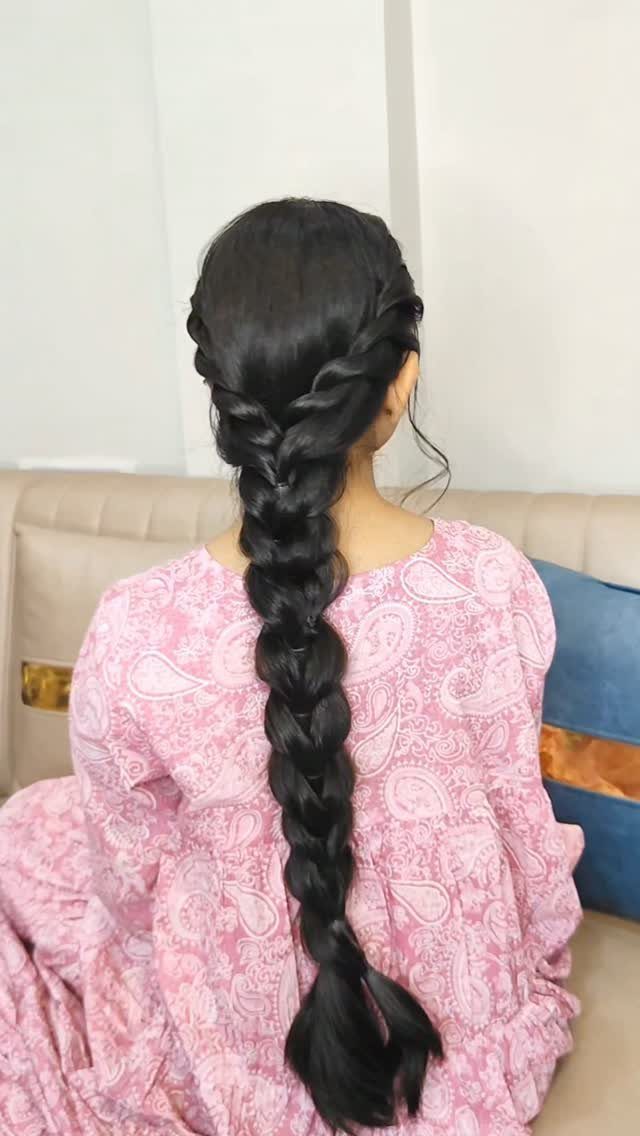
Two ropes of hair crossed over each other make the twist braid, and it is easier than a three-strand braid because there is no weaving. On long hair, the result looks thick and deliberate.
Split the hair into two even sections, twist each one in the same direction, then wrap them around each other the opposite way.
That opposite direction is what locks it. Finish with a clear or matching elastic.
4. Dutch Pigtails
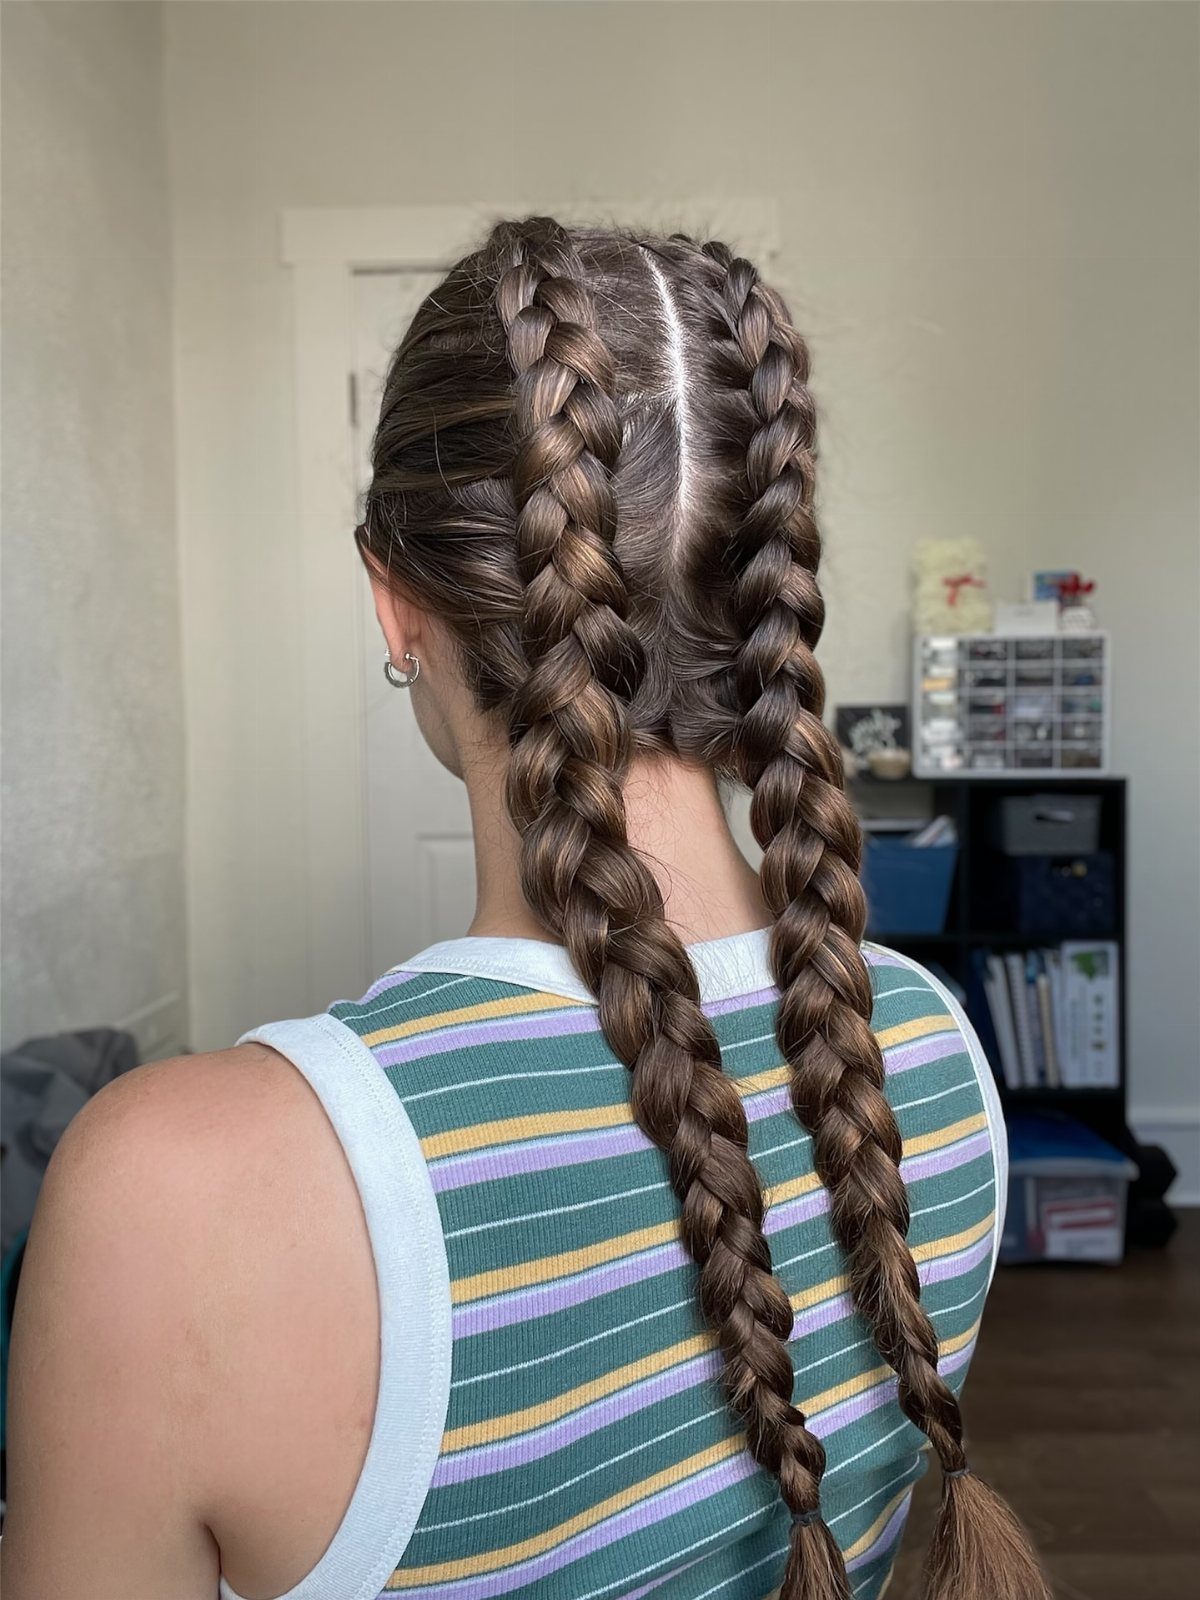
Pigtails get a real upgrade when each side is Dutch braided, since the sections go under instead of over and the braid sits raised on top of the head. It looks more intricate than it is.
Part the hair down the center first, and keep the part straight, because the back view shows every wobble.
Tug the loops gently outward after braiding to make the braids look fuller. Practice once before picture day.
5. Bubble Ponytail
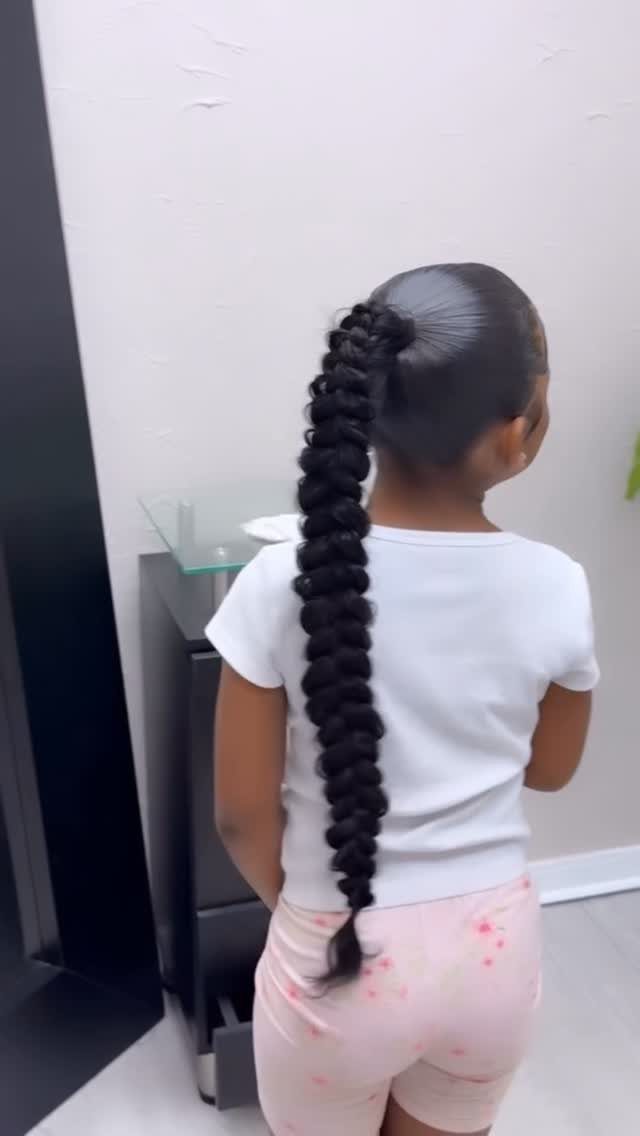
Small elastics spaced down a ponytail create the bubble effect, and the puffed sections give a long, dark ponytail a playful shape. It suits kids who want something fun but still tidy.
Tie the ponytail first, then add an elastic every few inches down its length.
Gently pull each section outward to round it. Clear elastics keep the focus on the bubbles rather than the bands.
6. High Bun
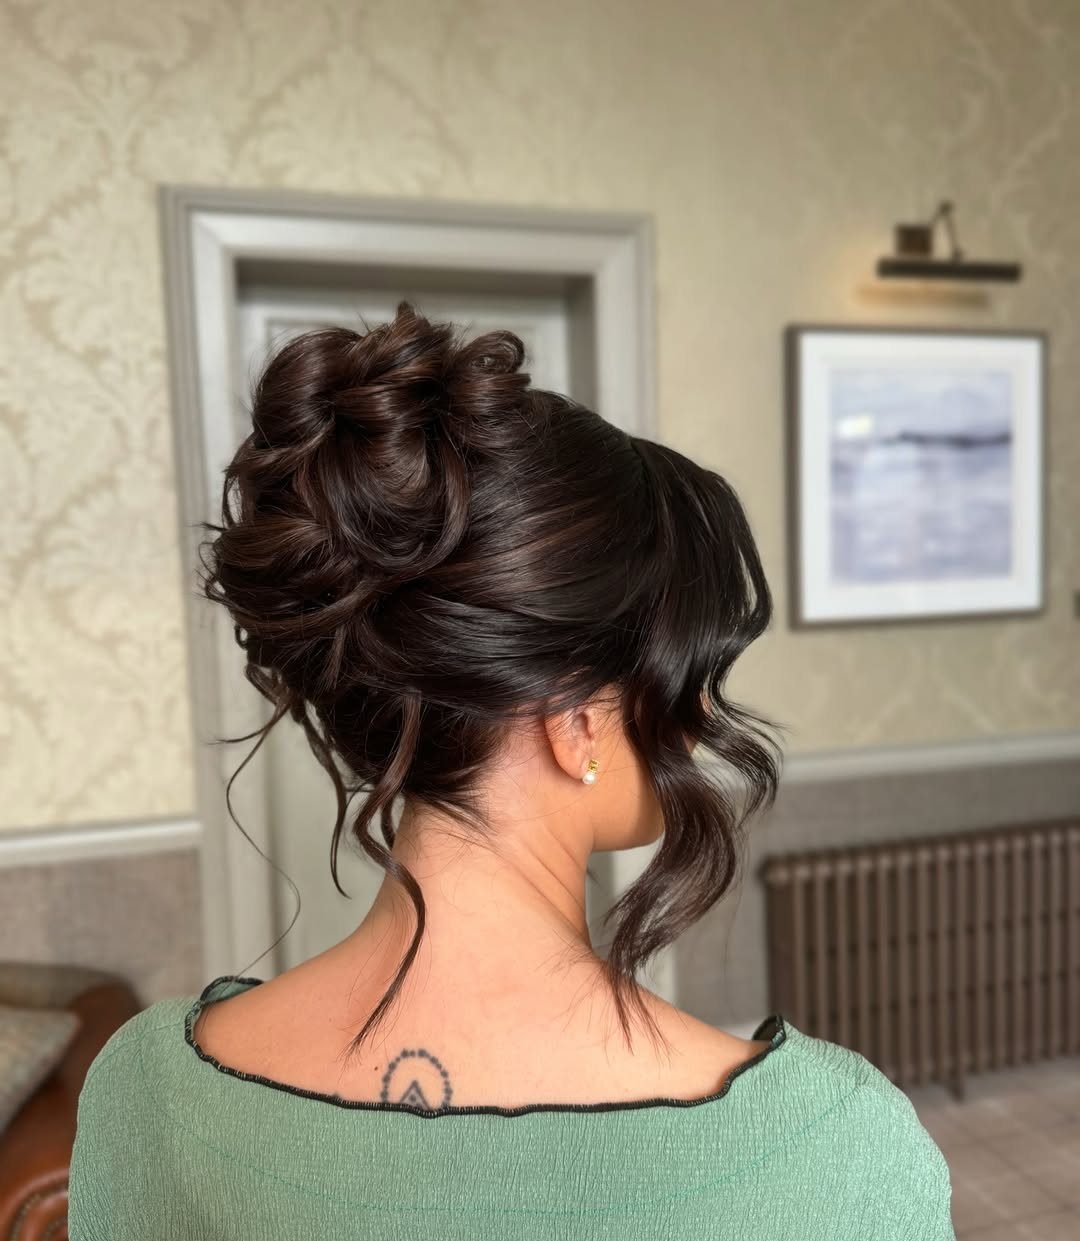
Height is what makes a high bun feel dressy, and loose curls left around it keep the look soft instead of severe. It also puts the face front and center, which is useful for a portrait.
Pull everything up to the crown, twist it around the base, and secure it with an elastic plus a few pins.
Pull a few curls loose afterward. A smooth top with a bit of volume in the bun photographs best.
7. Loose Waves
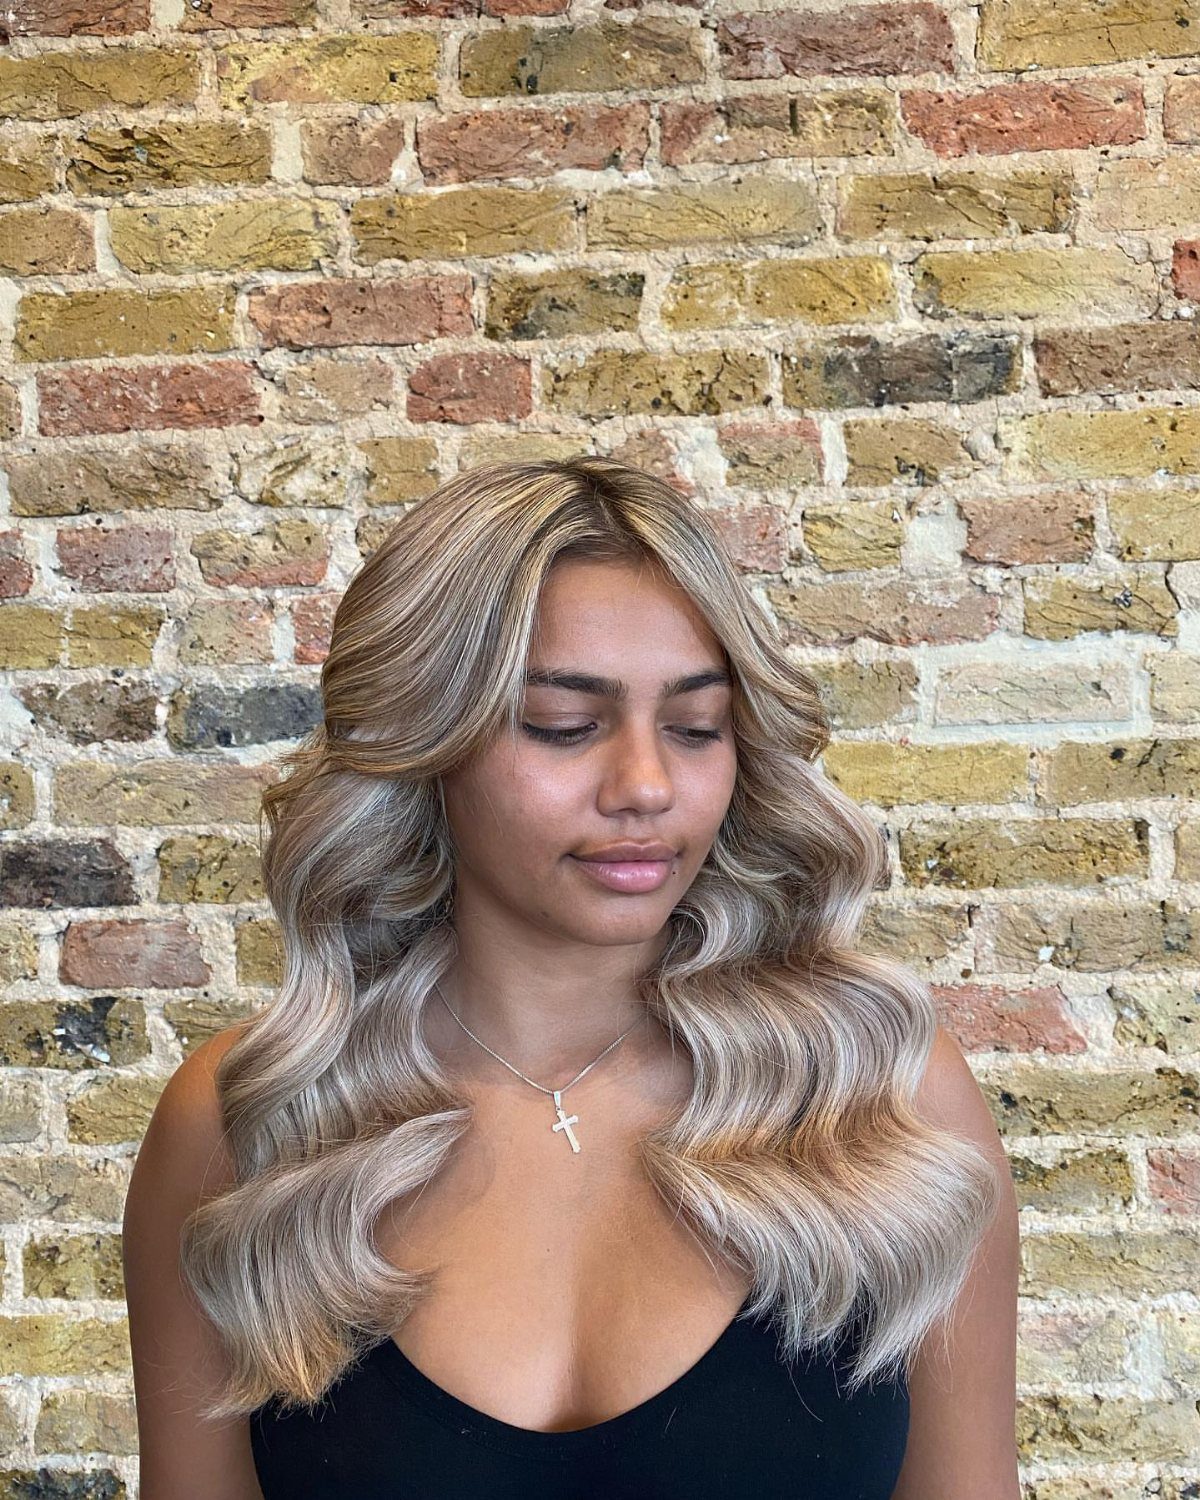
Loose waves take the least effort of any style here, and on long blonde hair with highlights they let the dimension in the color show. Waves that start below the ears look more natural than ones curled from the roots.
I would leave the hair down and part it where it already falls. Brush the waves out lightly so they blend into one soft shape.
Loose hair does not hold a perfect shape all day, so a quick touch-up after recess is realistic.
8. Fishtail Braid
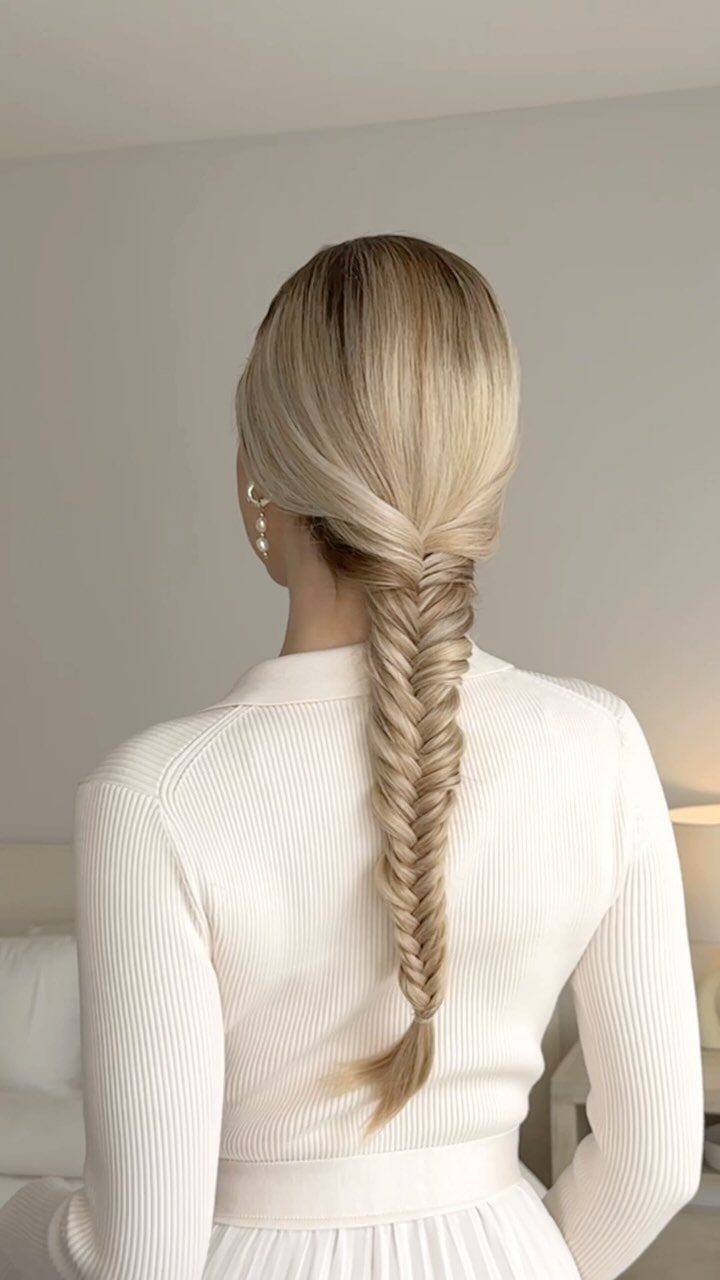
Few braids look as detailed as a fishtail, and few are as simple once the pattern clicks: it is just thin pieces passed from one side to the other.
On long hair, the finished braid reads as one narrow, woven rope down the back.
Part the hair straight down the center so you have 2 even halves, then hold one in each hand and get ready to cross thin strands between them.
Then take a small strand from the outer edge of one side, cross it over to join the other, and repeat on the opposite side.
Smaller strands give a finer braid. A smoothing serum, which the maker of this look used, helps tame frizz and adds shine.
9. Low Bun with Scarf
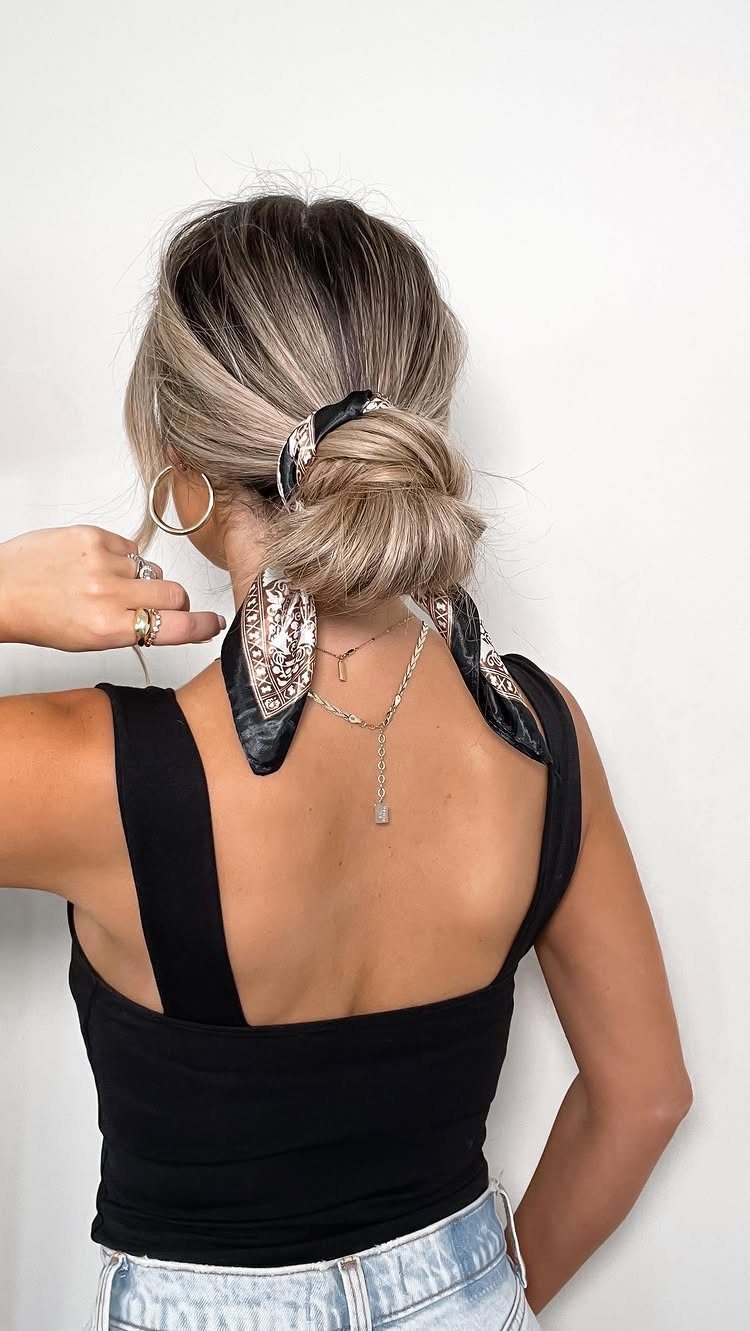
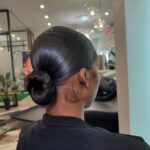
A low bun sits at the nape, so it stays out of the way while the scarf supplies the color. That makes it a neat option for a child who wants something polished with no fuss.
Sweep everything low at the nape, twist it into a bun, and pin it flat against the head. Knot the scarf around the base so the ends hang or tuck in.
10. Cornrows with Colorful Beads
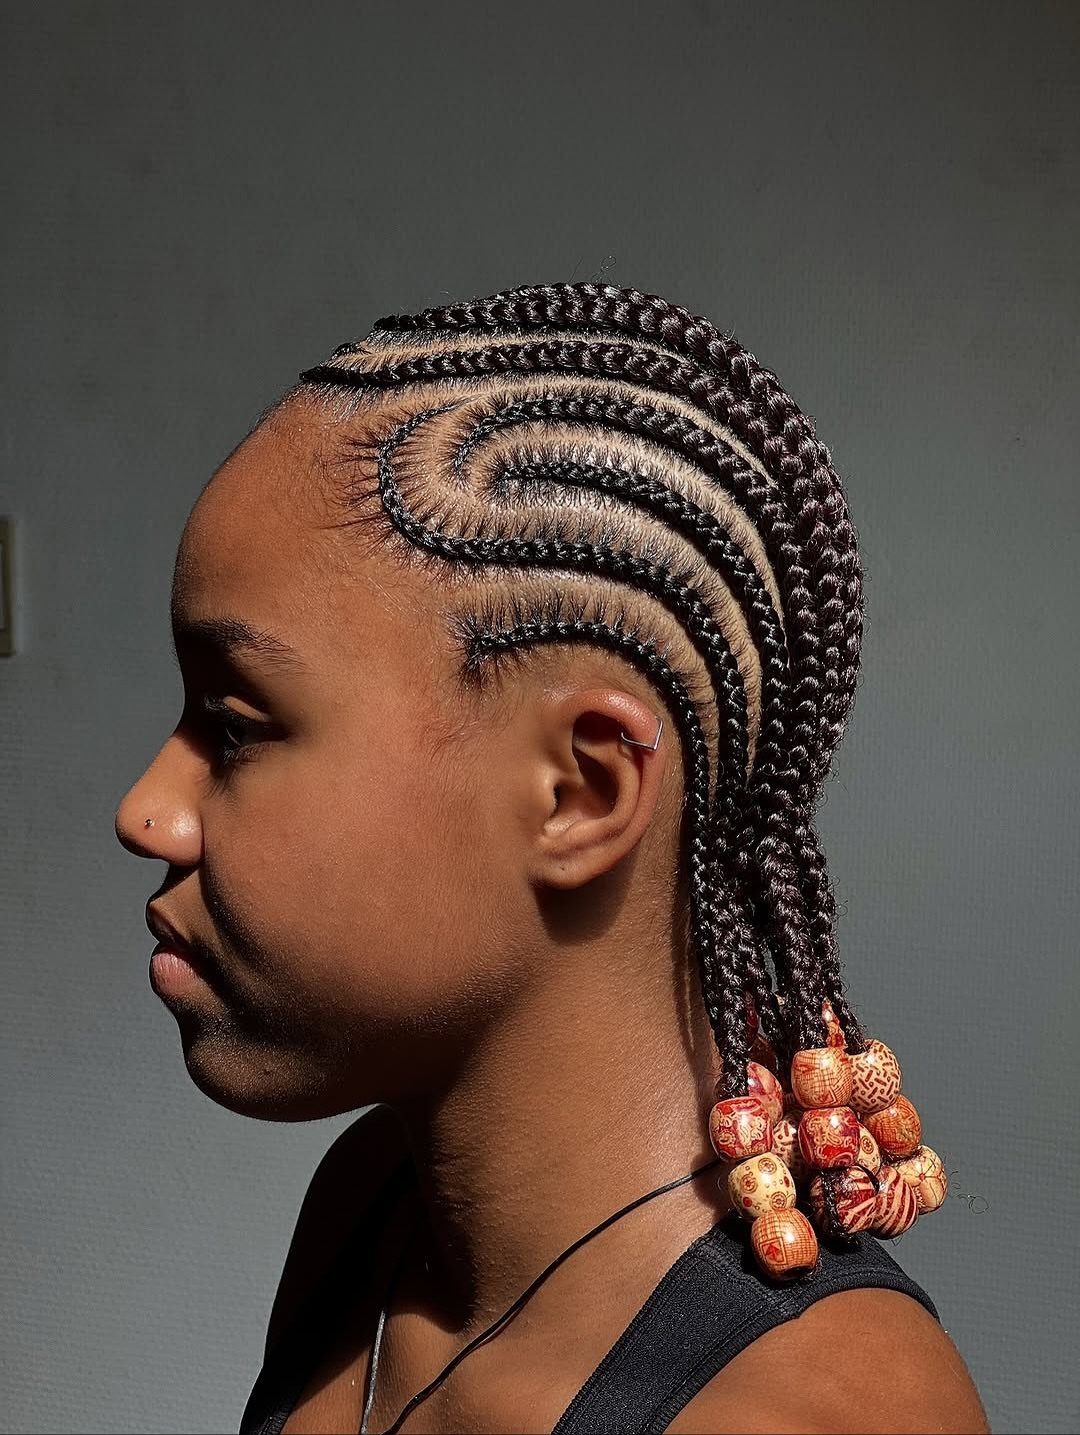
Curved cornrows finished with orange and yellow beads give a picture day look with built-in color. The beads gather at the nape, so the pattern and the bright ends both show in a profile shot.
Plan this one with a braider well ahead of the date, since curved patterns take longer than straight lines. Ask for the braids to end in loose lengths at the nape so beads can be added.
Check that the beads sit snug and do not swing loudly against the neck.
11. High Ponytail with Accent Braids
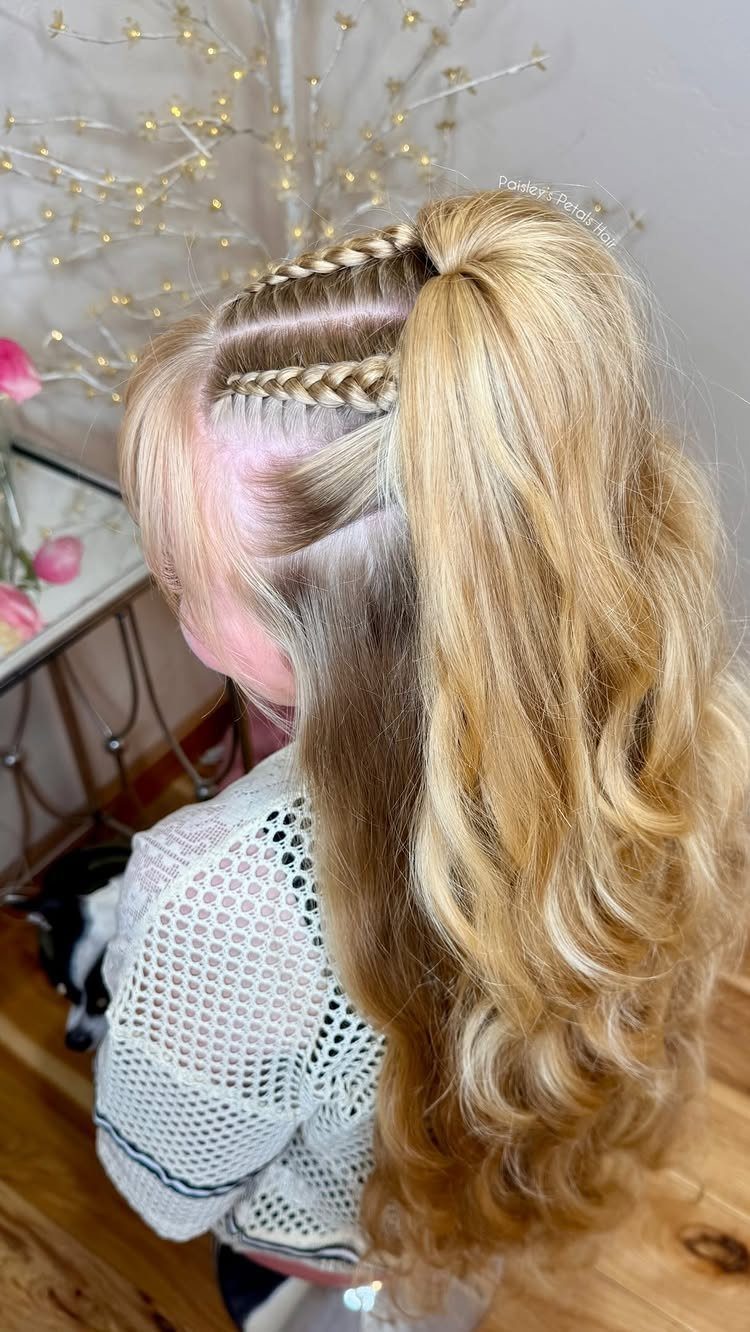
2 small braids tucked into a high ponytail add detail without making the style complicated. On wavy blonde hair, the braids stand out against the loose texture of the ponytail.
Make the ponytail first, high and centered. Then braid 2 thin sections near the face, and bring them back into the elastic or secure them alongside it.
Keep the braids thin so they read as accents. Elastics in one shade, ideally close to your hair color, keep the eye on the braids rather than the hardware.
12. Braided Pigtails with Curly Ends
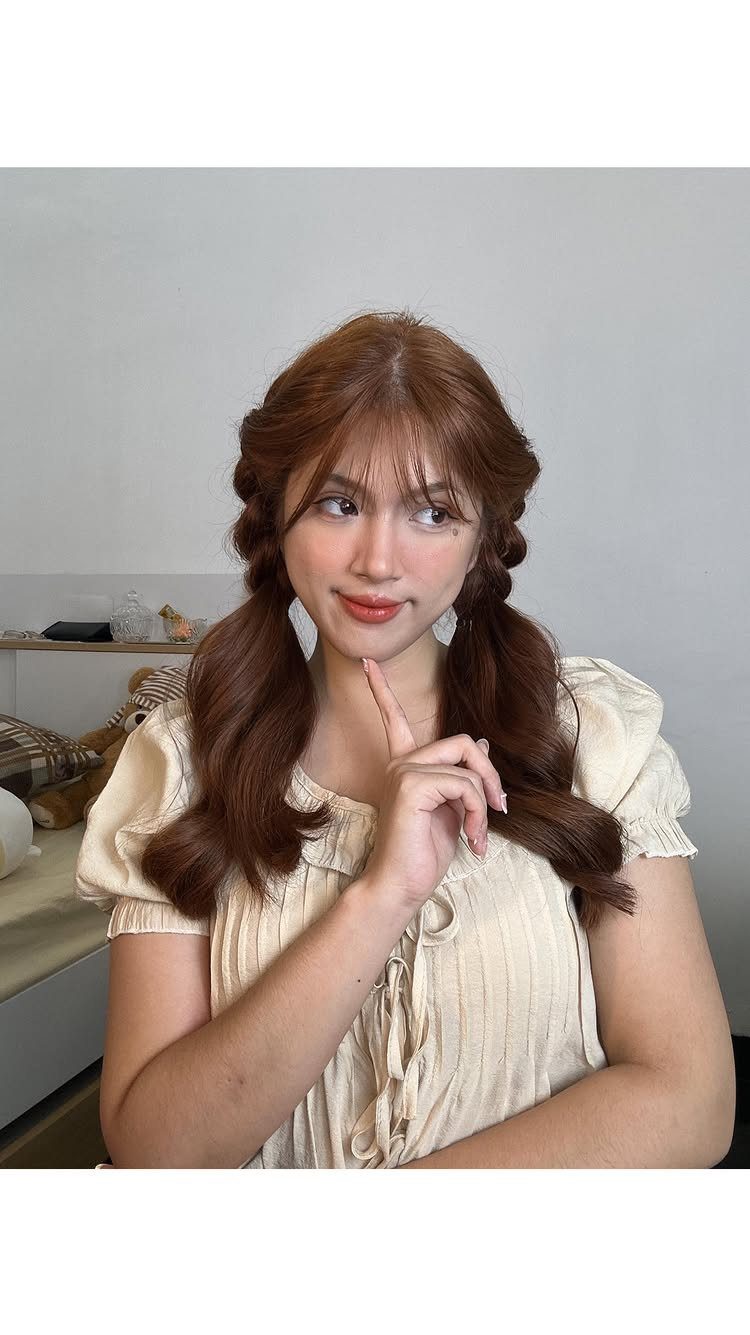
Braided pigtails that end in soft curls give a neat top and a loose bottom, which is a charming pairing on reddish-brown hair. The braid keeps the hair controlled while the curled ends add movement.
Part the hair down the center, braid each side to about the lower length, and secure with small elastics. Curl the ends, or braid the hair damp so the ends dry wavy.
Leave a little length past the elastic, so the curls have room to show.
13. Neat Cornrow Braids
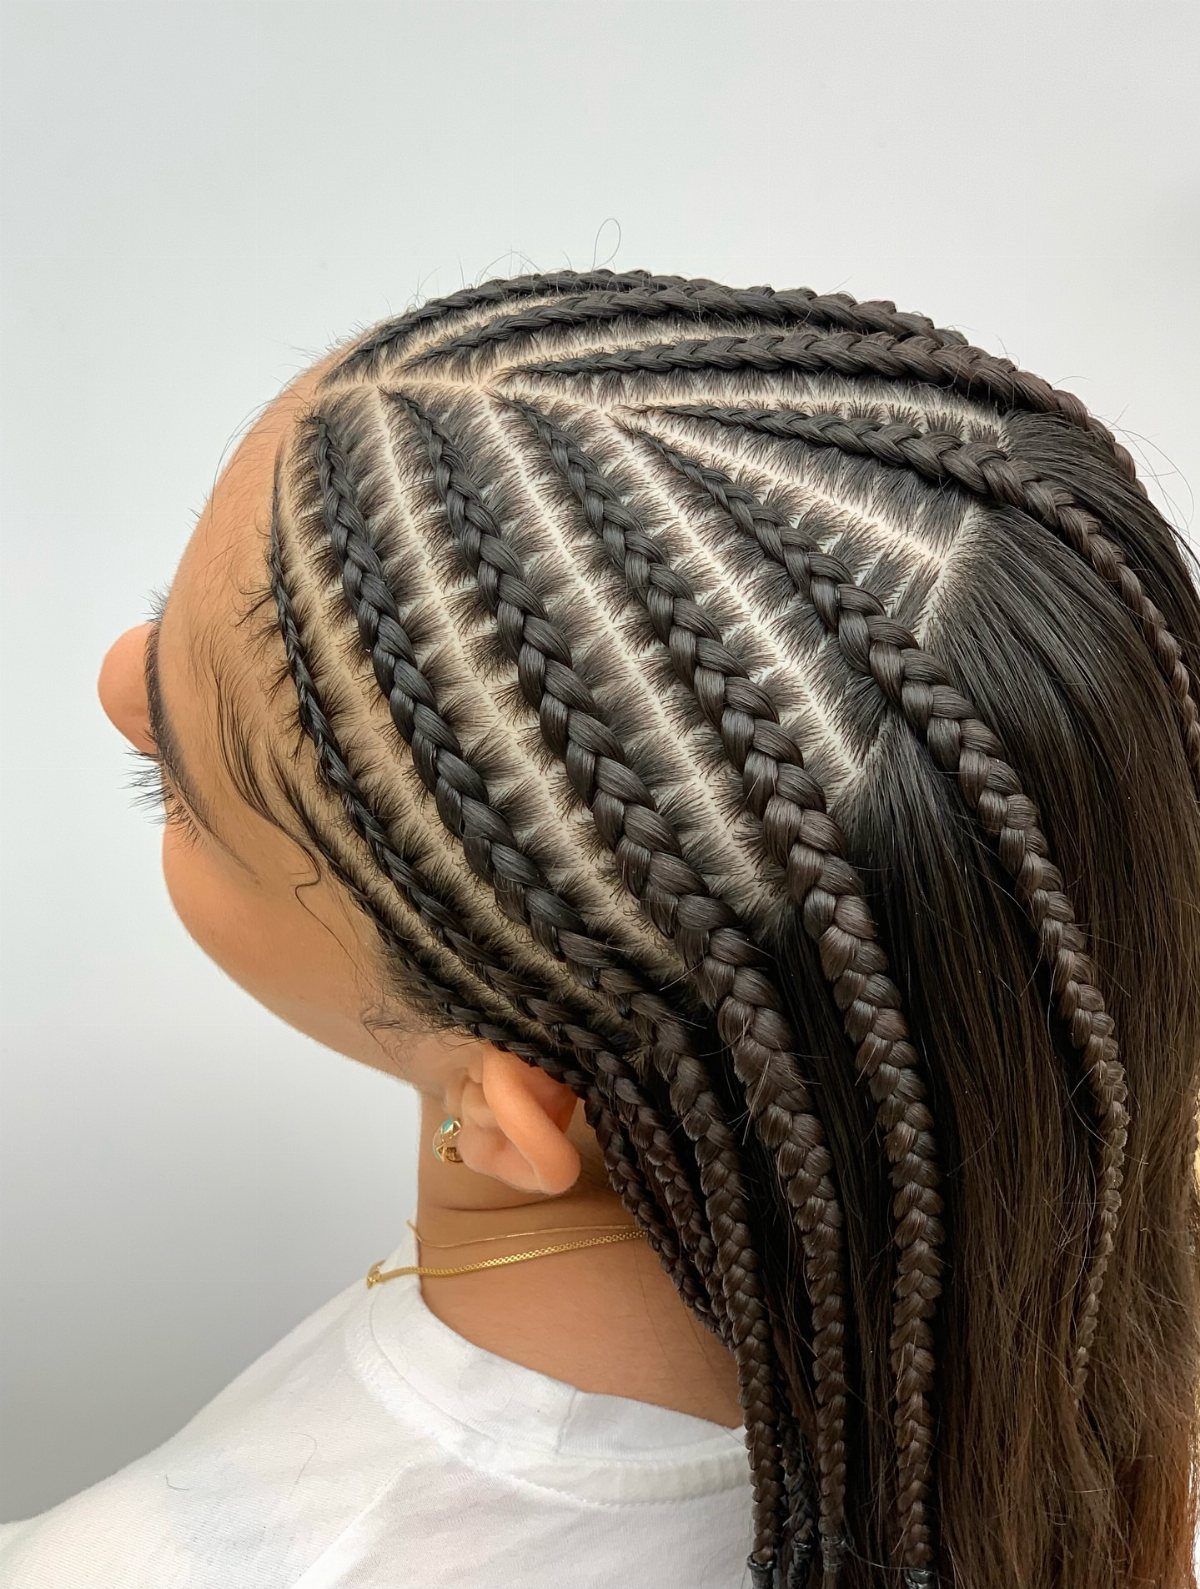
Flat cornrows stay close to the scalp from front to back, so the lines of the pattern do all the decorating. Straight, even rows read as clean and polished in a school portrait.
Neat parts matter more than anything else here. Ask the braider for crisp, evenly spaced lines, and book the appointment ahead of picture day so the style has a day or two to settle.
A little edge control or light oil on the scalp keeps the rows looking smooth, with no extra styling needed that morning.
14. Stacked Puff Balls
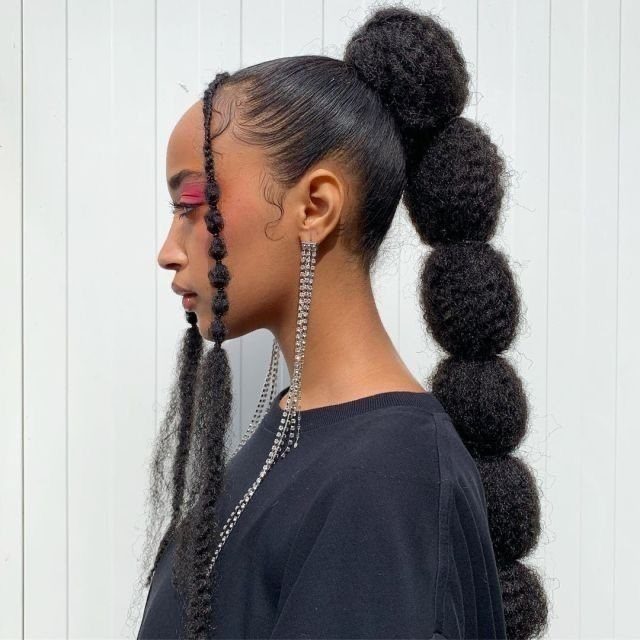
Puffs stacked in a vertical line up the back of the head make a tall, playful shape, and thin braids left loose at the front soften the cheeks and temples.
For a child with natural texture, I would part the hair into even sections down the center back, then tie each section into its own puff, working from the nape upward. Fluff each one out so they match in size.
Braid the face-framing pieces separately and keep them thin so they stay neat. Small elastics in a color close to the hair disappear.
15. Bows and Headbands
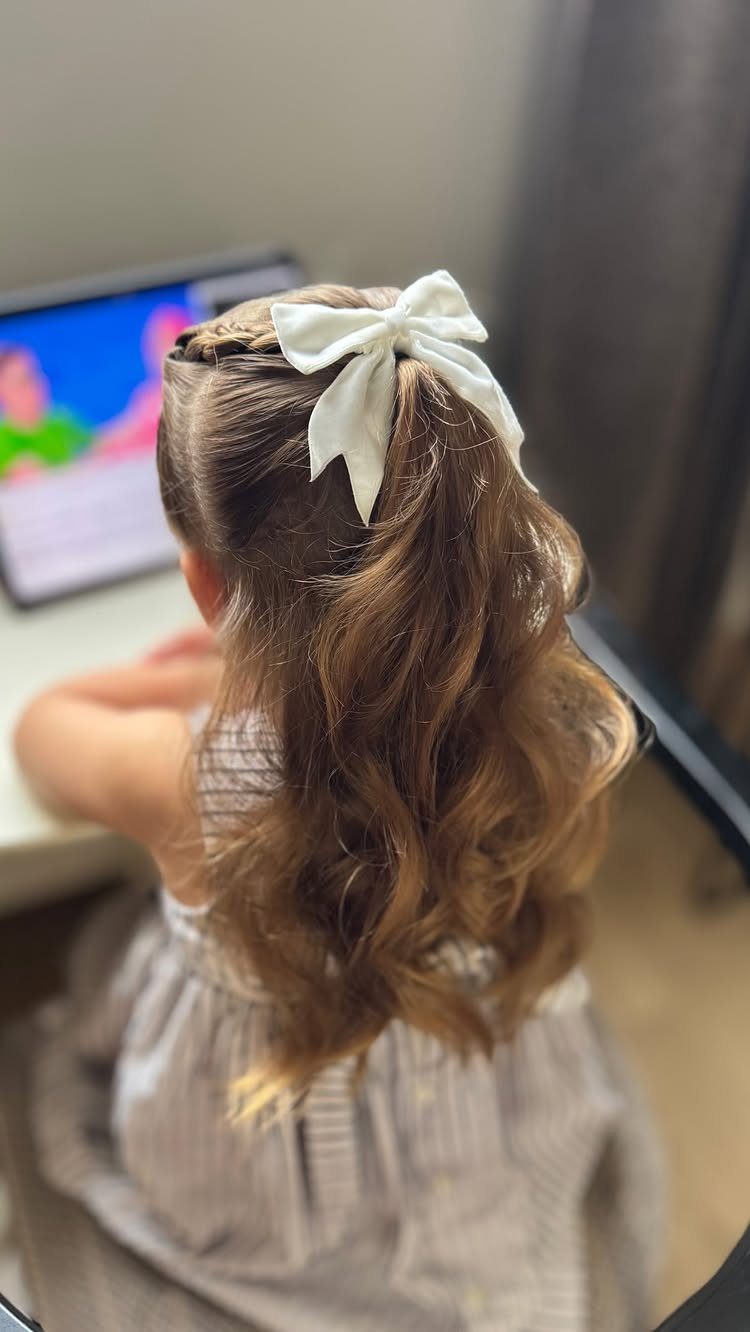
A bow or headband is the fastest way to finish a style on a rushed morning. On wavy hair with a small braid, a white bow adds a clean, bright detail without changing the shape of the hair.
Clip it where it will show in a portrait, such as the crown or just above the braid. Choose a clip that grips securely, since a loose bow droops by lunch.
Keep it to one accessory so the hair stays the focus.
16. Classic Braids
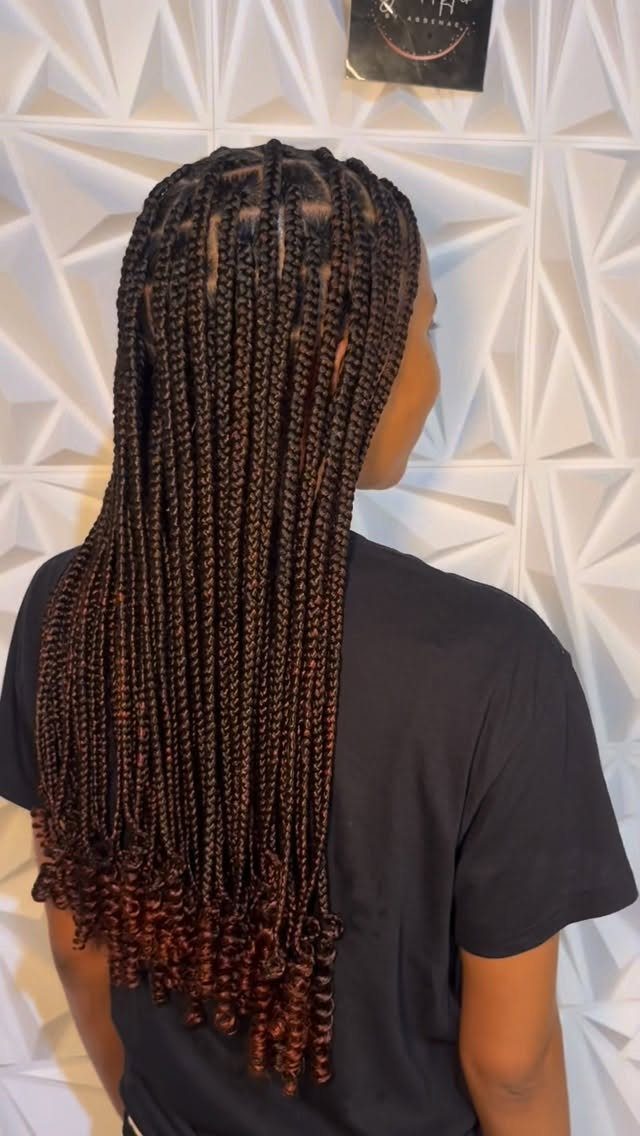
Long box braids ending in tight curls are a classic that needs nothing from you on picture day. The parts are already set, the braids hold their shape, and the curled ends add a soft finish.
Since they stay in place for weeks, this is a style to plan around the calendar: get them done well before the photo so any fresh-install tension has eased.
A light mist of moisturizer along the braids keeps them from looking dry in the camera.
17. Deep Side Part
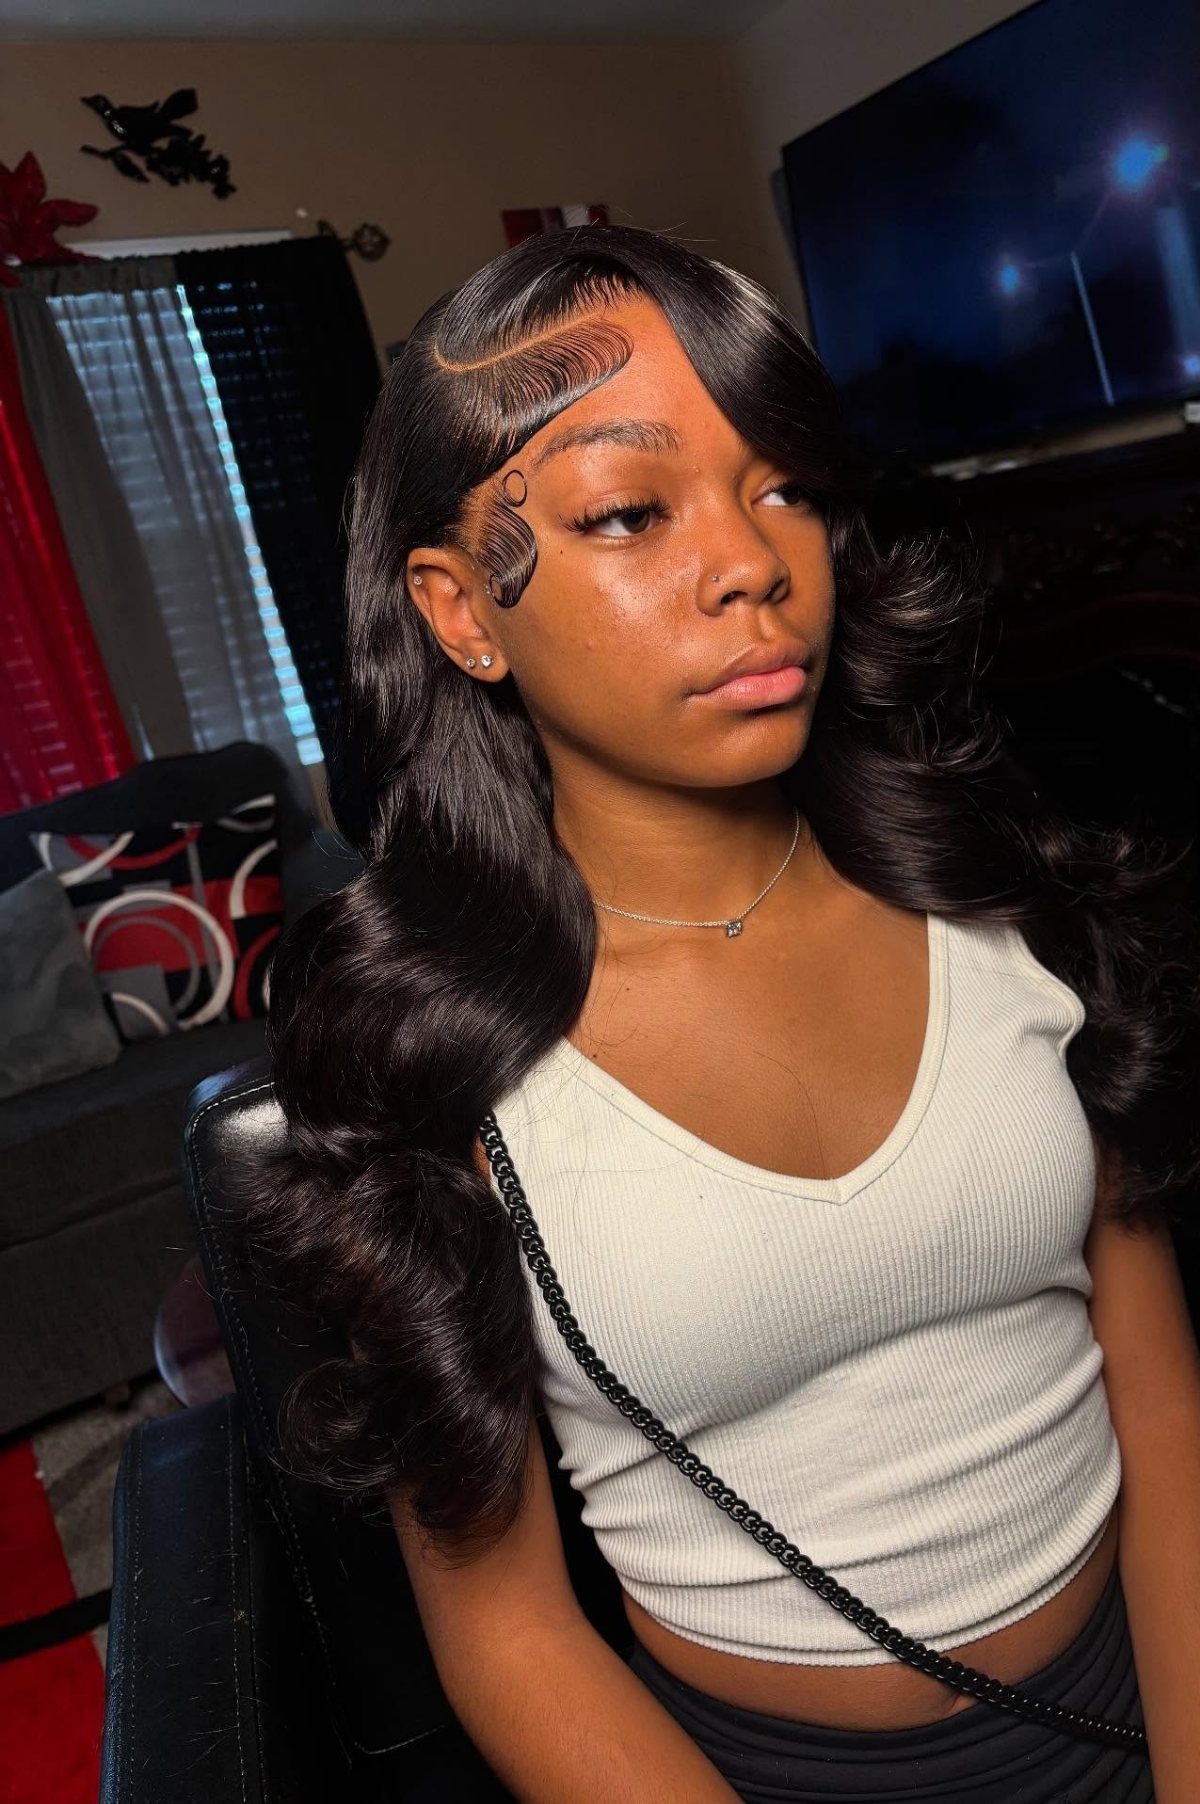
A deep side part sweeps long, wavy hair to one side and gives the face a defined frame. It is one of the simplest ways to wear hair down for a portrait.
Find the part with a comb, starting at the arch of the brow and drawing straight back. Smooth the edges with a soft brush, then let the waves fall over the shoulder on the heavier side.
I like a part this deep because it adds volume at the root without any tools.
Simple and Durable Styles
Braids, ponytails and buns last longest because they keep the hair anchored in one place. A complicated style can look sweet at 7:30 a.m. and fall apart by the time the class lines up for the photographer.
Clips and headbands are the first things to go on a playground. If you use one, press it in firmly and check that it holds when your child shakes their head.
Run a quick test at home: let your child jump, run and play for a few minutes, then see what’s left. A style that survives that is ready for school.
Comfort Is Key
A style that pulls or itches will get tugged at, and a child who fiddles with their hair all morning can undo your work before the photo.
Ask your child how it feels once it’s finished. Tight spots at the temples or the crown are the usual trouble, so loosen them a little.
A child who likes the style and feels fine in it will leave it alone. That does more for picture day than any extra pins.
Practice Ahead of Time
Do a full run-through a few days ahead, not the night before. You’ll find out how long it takes, which elastics or pins you need and whether the style holds up.
It also lets your child get used to how it looks and feels, so there’s no surprise on the big morning. If they dislike it, you still have time to change plans.
Have them wear it for a while, ideally with some active play, and check it again afterward. Whatever slips or loosens tells you what to fix.
Frequently Asked Questions
What hairstyles look good in pictures?
Braids, half-up styles and natural-looking hair photograph well. A half-up style with a high ponytail from the crown clears the face and adds lift, and a high bun puts the face front and center.
Smooth the top and leave a little volume in the bun for the best result.
What should girls wear for picture day?
For hair, which is what I can speak to, finish the style with one accessory at most.