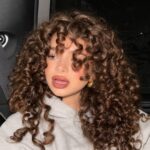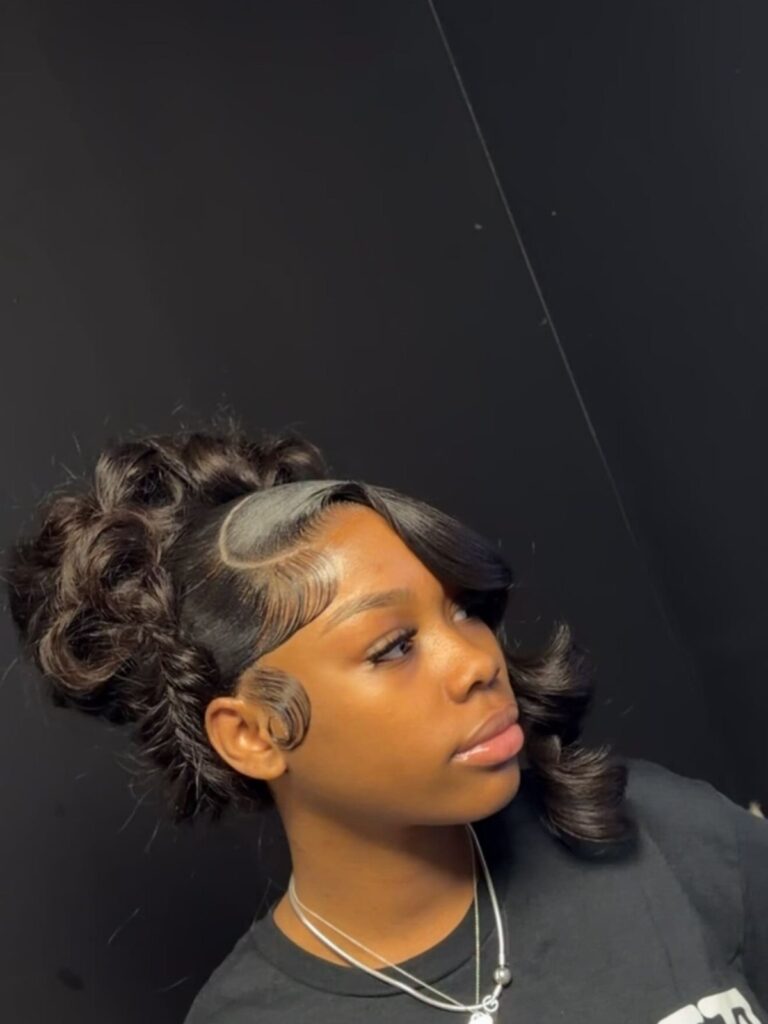
Hair length and how much time you have will decide which of these 6 to try: Sleek Waves and Classic Retro Curls need little more than an iron or rollers and a brush, while Victory Rolls with Bangs, the Victory Roll with Beret and Elevated Pincurls call for sectioning, firm pinning and a fully dry set.
Length matters most for the curled half-up, and the longer your hair, the better it looks, because the curls need room to fall past the shoulders.
1. Elevated Pincurls
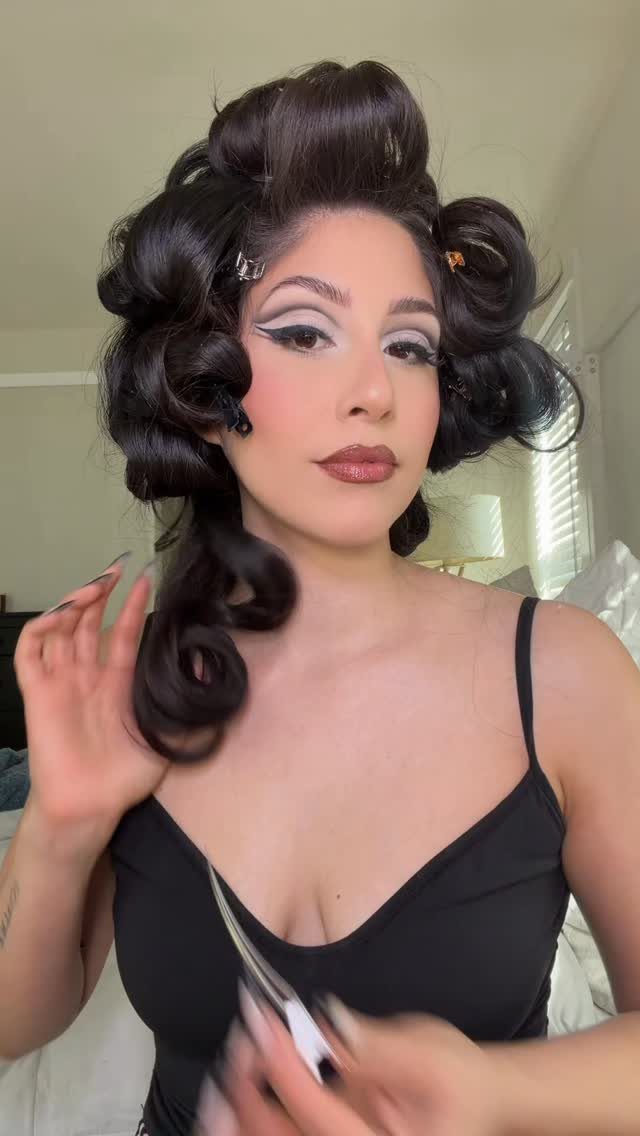
Pincurls set to stand up from the scalp, rather than lying flat against it, give you volume at the root before a single curl is brushed out.
Pin each curl so it points up and away from the head, and let the hair dry completely before you take the pins out.
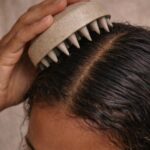
Brushing is where this goes wrong. Separate the curls gently with your fingertips and a soft bristle brush, working from the ends up so the set blends without breaking into frizz.
Dark hair shows definition well, so a light mist of hairspray is enough to hold the shape.
2. Voluminous Victory Rolls with Bangs
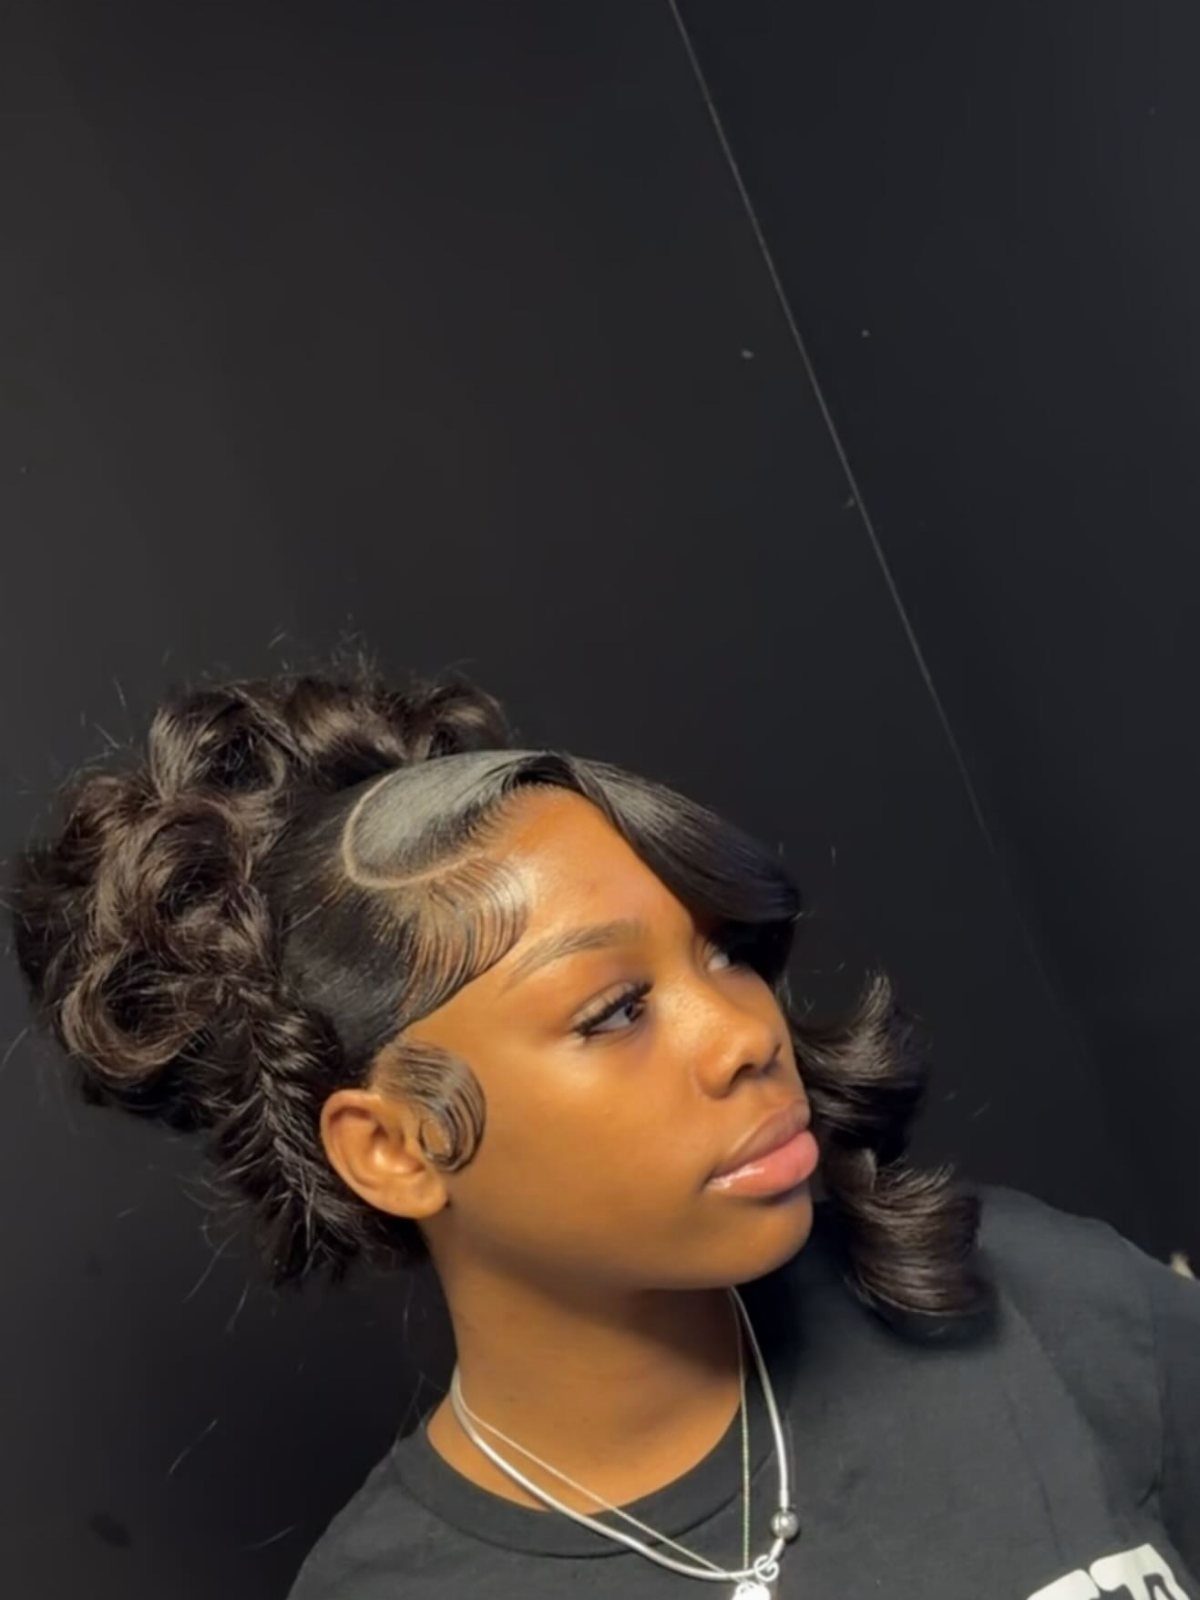
Bangs change how victory rolls read: the rolls sit high, the fringe sits low, and the contrast makes the whole updo look structured. Cut or style the bangs first so you know how much hair is left for the rolls.
Roll each section up and away from the face, then pin it firmly along the roll’s base.
A smooth surface matters here, so smooth each section before you roll. If you’re new to this, practice on one side until it feels steady, then match the other.
3. Curled Half Up Style
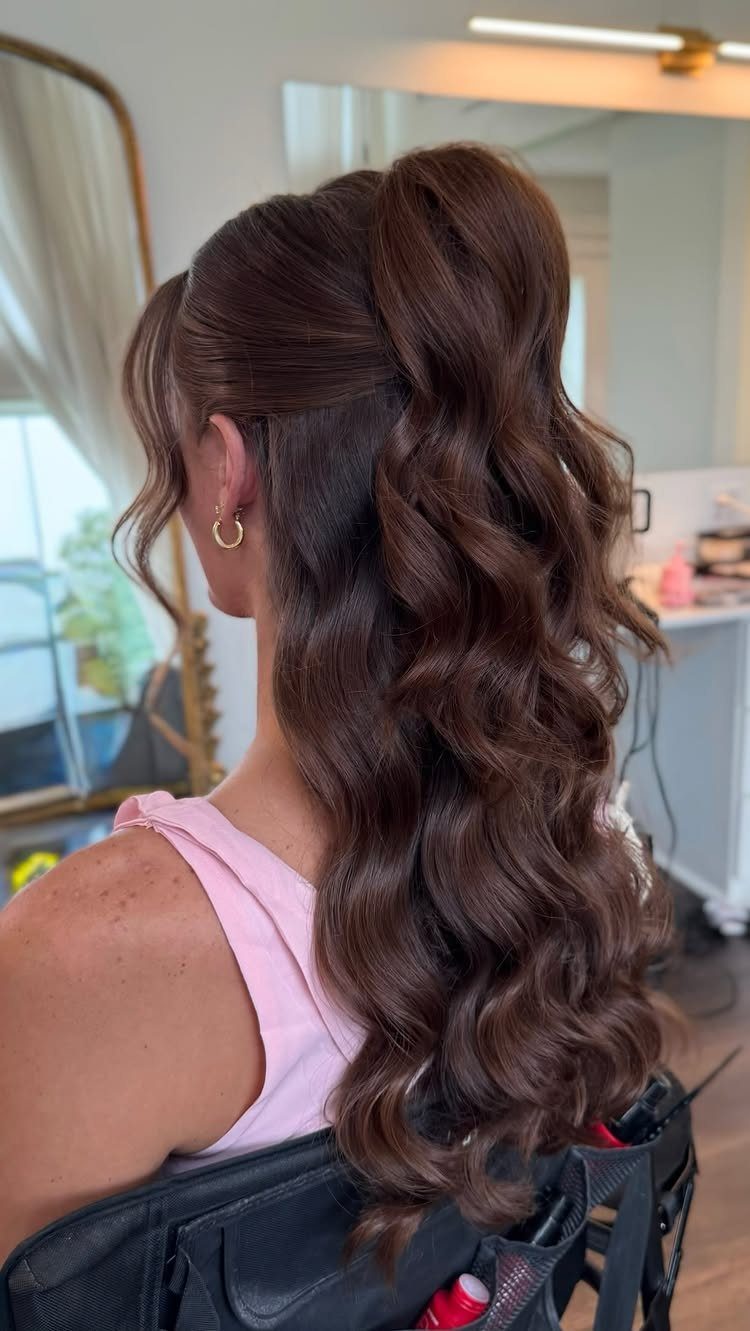
Gathering only the top section high and leaving the rest down gives you a half-up style that looks dressed up without much work. Curl all the hair first, so the ponytail and the loose lengths match.
Long hair suits this best, since the curls have room to fall and stay defined.
Let the curls cool before you pin or tie anything, and then brush only the ponytail section lightly. It works for a dinner or a party, and it takes far less time than a full updo.
4. Sleek Waves
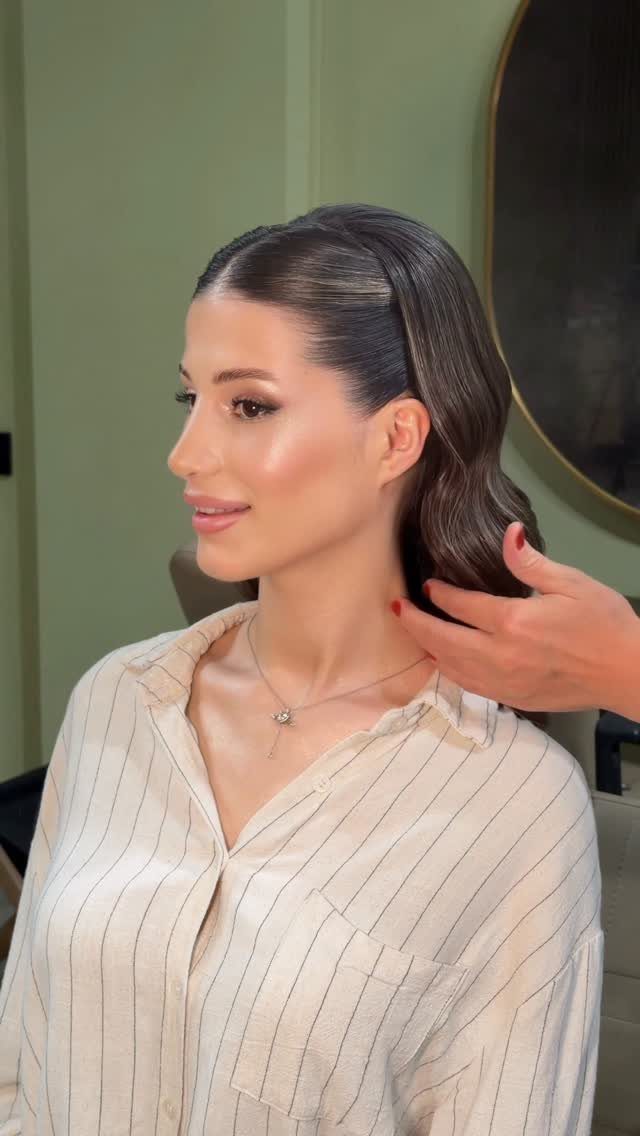
Sleek waves are the quietest way into pinup hair: smooth, defined and shaped in one direction, with none of the tight curl.
Set the waves with a curling iron or rollers, then brush them out gently so they join into one soft ripple.
I prefer this version for everyday wear, because it looks polished without announcing a costume. A little shine serum keeps the surface smooth, but too much will weigh the waves down and flatten them.
5. Classic Retro Curls
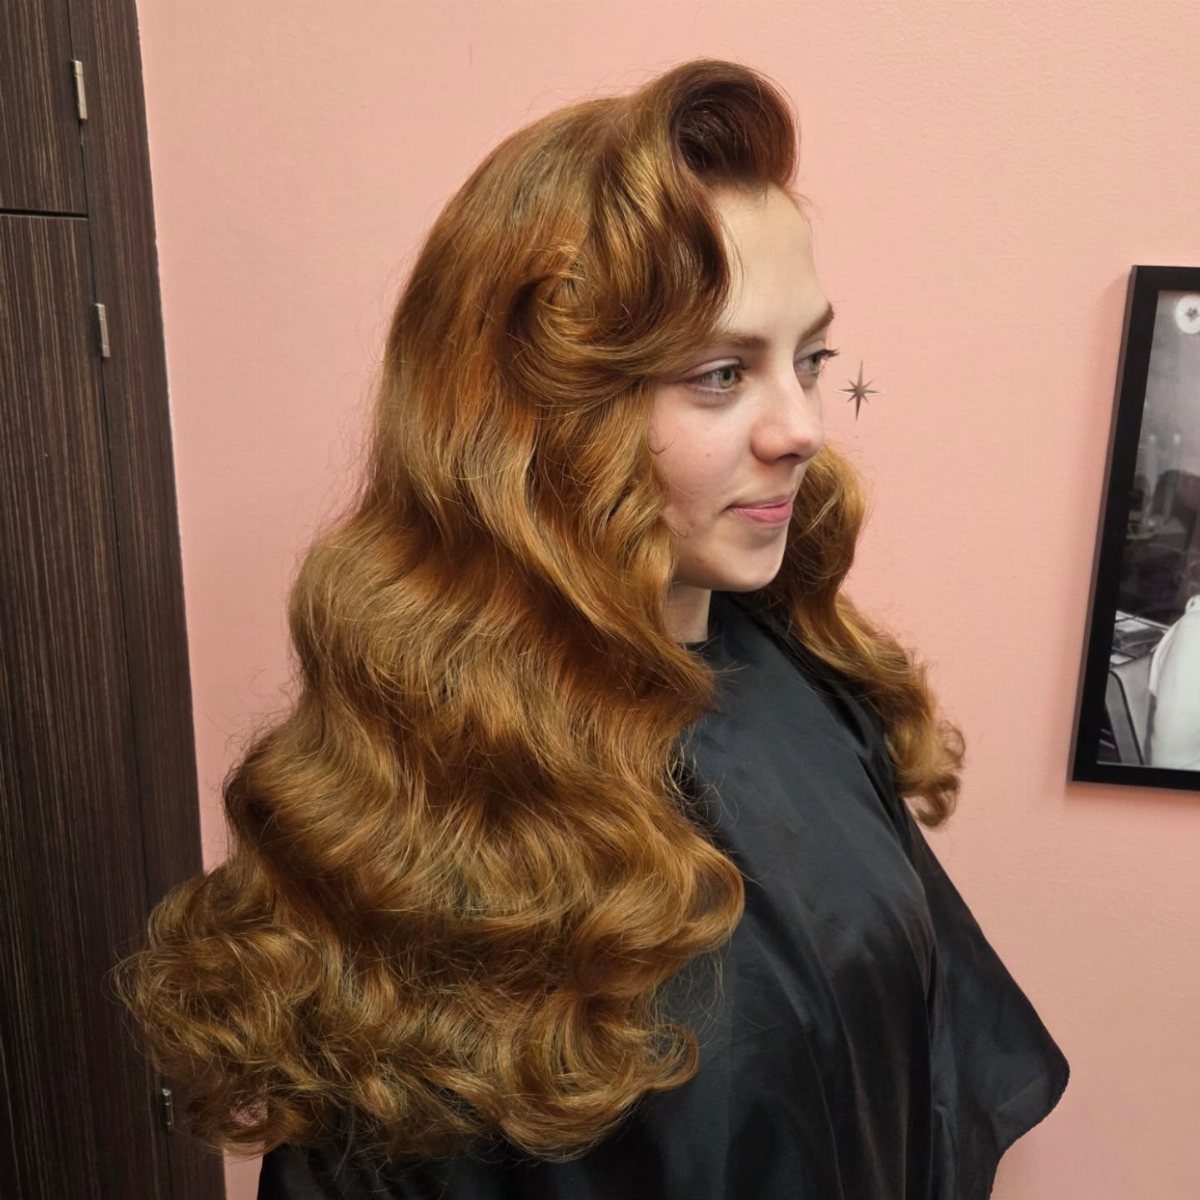
Soft curls that fall around the cheeks and jaw are the version of retro hair I would pick first, since they read as timeless rather than themed.
Curl the front sections away from the face so they open up the cheekbones and the jaw.
Brush the curls out so they blend into waves, then shape them with your fingers.
Long hair carries this well. Finish with hairspray, and expect to touch up the front sections during the day.
Hair trends come and go, but there are a few iconic hairstyles that have stood the test of time. Pin curls are undoubtedly one of those looks that will always be in style.
— Hair.com
6. Victory Roll with Beret
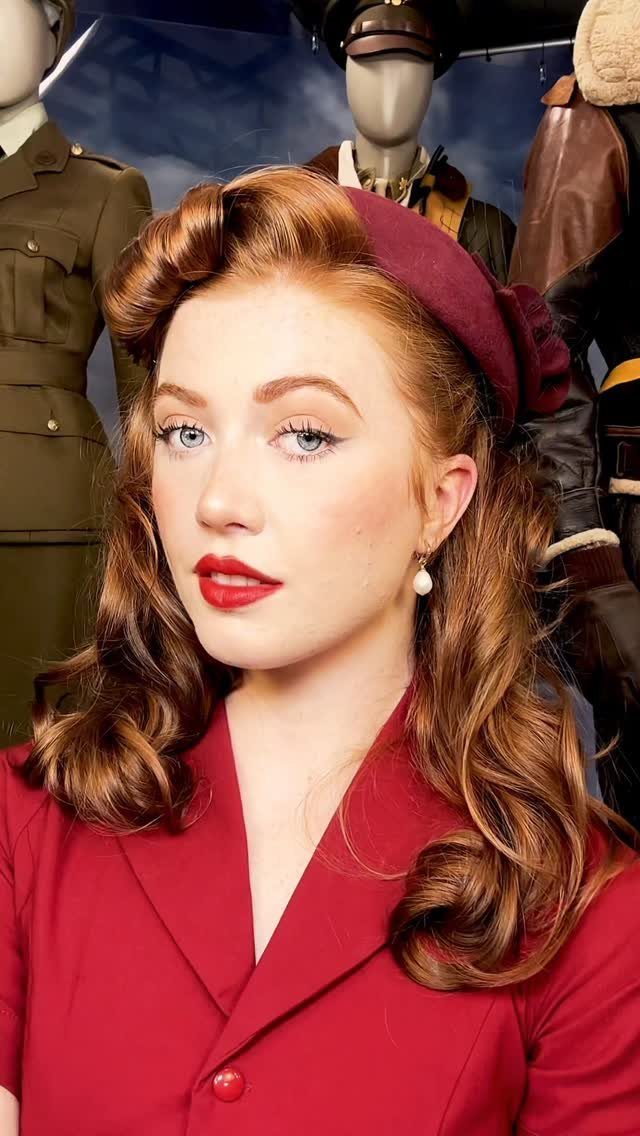
A beret gives a victory roll somewhere to sit, so the roll is tucked under the brim and the loose curls fall below it.
Set the roll first, pin it securely, then place the beret and anchor it with extra pins.
Red is the classic color for the hat, and it looks great against red hair.
Try angling the beret slightly to one side so it doesn’t flatten the roll. If the pins feel loose, add more rather than pulling the hat tighter.
Tips for Pin Curls
Setting lotion gives pin curls their hold, so work it through before you pin. Then give the set time: the longer the pins stay in, the better the curls turn out.
For overnight setting, I wrap a silk scarf over the pinned curls and sleep in them, which keeps the pins in place and cuts down on frizz.
Others set their hair while getting ready or doing chores. Either works.
Whichever you pick, the hair has to be fully dry before a single pin comes out.
If the hair is still damp when you take the pins out, the curl won’t hold its shape and drops within the hour, so wait until it is fully dry.
Air drying is fine, and a diffuser speeds things up if you’re short on time.
Tools Needed
4 things do most of the work: a comb, sectioning clips, setting lotion, and bobby pins or pin curl clips. A rat tail comb is the one I reach for, because its pointed end makes a clean part.
Try a deep side part for a classic 1950s feel. Then divide the hair into 3 horizontal rows (top, middle and bottom) and secure each with a clip or an elastic.
Keep the clips within reach before you start. Setting one row at a time goes quickly when the other two are already out of the way.
Hair Preparation
Start with damp, towel-dried hair, not dripping wet.
Before you apply anything, squeeze or blot the ends with a towel so they aren’t dripping. Soaking hair weakens the hold and stretches out drying time.
Next, apply a product that smooths the strands and fights frizz.
Saturate the hair, then run a fine-tooth comb through it so the product spreads evenly. Uneven product means some curls set smooth and others turn fuzzy.
Frequently Asked Questions
How do you do pin up curls?
Start with a setting lotion worked through damp, towel-dried hair, then split it into 3 horizontal rows (top, middle, bottom) and clip the upper two out of your way.
Roll small sections into coils and secure each with a bobby pin or pin curl clip, one row at a time. Once the pins are out, a soft brush and your fingertips will blend the curls into one shape.
What are the types of pin curls?
Pin curls come in 2 types: flat ones sit against the scalp for a sleek, sculpted set, while elevated (stand-up) ones are pinned to lift away from the head for more height and bounce.
Flat curls give a smoother, sleeker set. Elevated ones add volume at the root before you brush anything out.
How to do 1940s curls?
Set pin curls or build victory rolls, the 2 shapes that give a 1940s look.
For pin curls, brush them out with a soft bristle brush and finish with hairspray for hold. A rolled-in curve at the ends gives the classic shape.